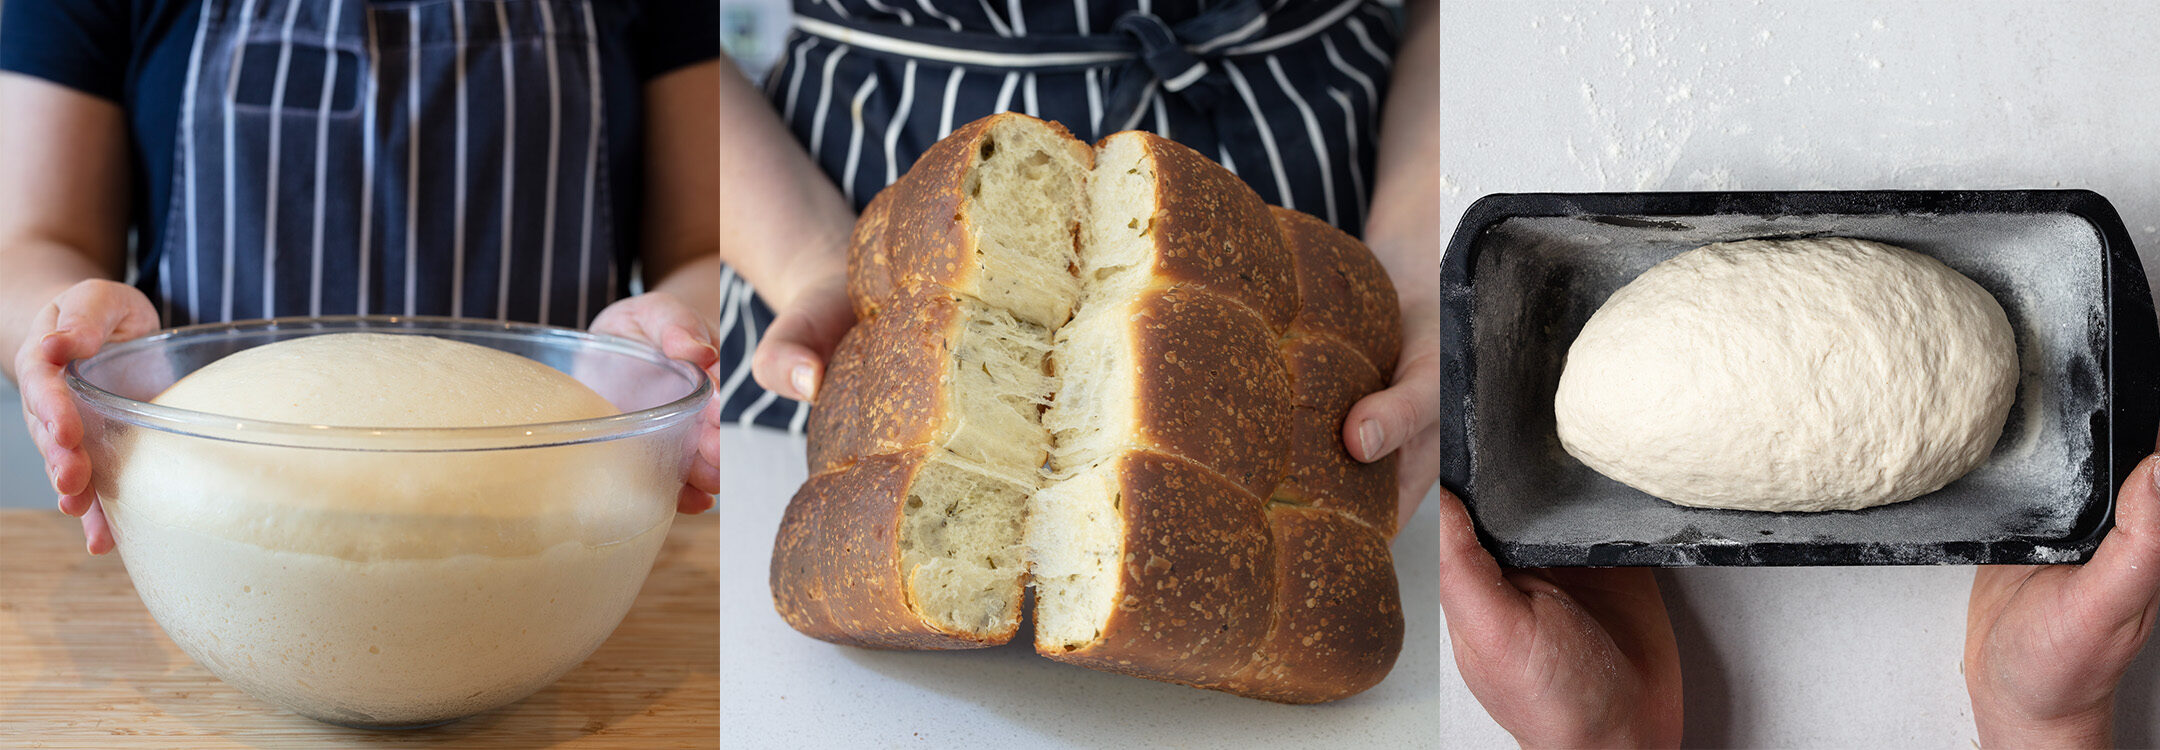
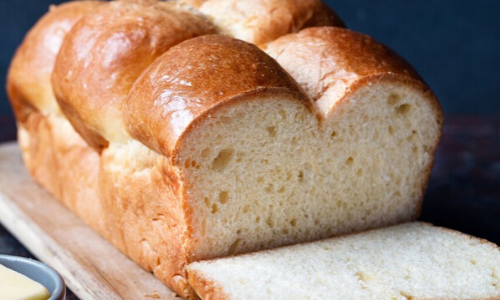
Is there anything better than the smell of freshly baked bread? Bread is one of those things that we all love, but sometimes don’t realise how much fun it can be to bake it yourself. I find it so satisfying to see my dough double in size, and love the look of its golden crust as it comes out of the oven. There is nothing better than the taste of homemade bread, so I’m going to teach you some tips and tricks when it comes to bread-making.
Weigh it out!
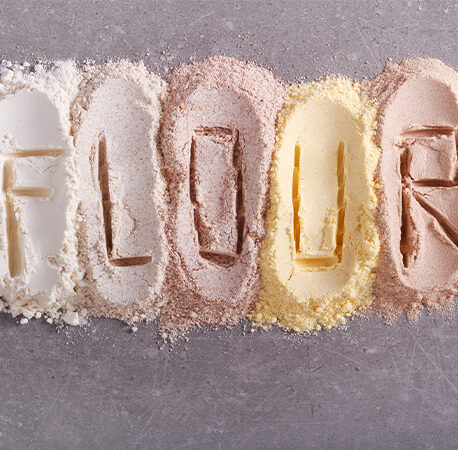
Baking bread is an art and your measurements need to be precise. A basic bread dough is made of flour, water, salt and yeast. Weigh the ingredients separately before combining them. When adding your ingredients into the bowl, be sure to keep your yeast and salt separate. Yeast is a living organism and direct contact with salt can kill it.
Beauty of the yeast
Yeast is the heart of the bread-making process. It’s the essential ingredient that allows the dough to rise and gives home-baked bread its wonderful taste and aroma. Other ingredients are added to complete the reactions that result in a perfectly baked loaf of hot, crusty homemade bread. Yeast comes fresh and dried in little sachets. In each yeast packet, there are thousands of living plant-like microorganisms. When activated by warm liquid, and fed by sugar or starch, the yeast releases tiny bubbles of carbon dioxide gas. This gas is what makes the dough rise and achieve its light texture after baking.
Warm the liquid
Yeast is a living thing and can be killed at high heat. It is important to warm your liquid, whether it is milk or water, it should be warmed before combining with the yeast. When mixing the yeast with a liquid, the optimum temperature is about 38˚C. It is worth investing in a thermometer as the temperature of the liquid can affect the overall dough and bake.
The need to knead
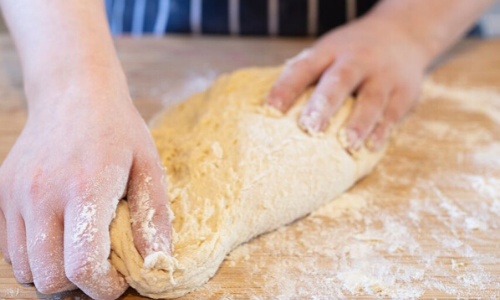
Bread dough is kneaded to strengthen the gluten, the stringy bands of protein that give the bread its structure and texture. Kneading can be done by hand or by using a dough hook attachment on a freestanding mixer. Bread dough should usually be kneaded for about 10-12 minutes by hand or 8-10 minutes in a mixer. When starting out with bread, it’s good to make it by hand as you get a feel for the dough.
Here is how to knead your bread dough by hand:
- Push the dough away from you with the heels of your hands.
- Fold the edge farthest from you towards you.
- Give the dough a quarter turn.
- Repeat until the dough is smooth.
- Tear off a small piece of dough. If it stretches rather than breaks off, you’ve kneaded enough.
The windowpane test
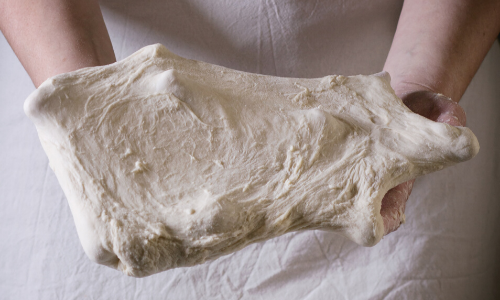
A good way to check if the bread has been kneaded enough for the gluten to develop is the ‘windowpane test’. Take a piece of dough and gently stretch the dough with your fingers. If the gluten is developed enough, the dough shouldn’t break once stretched and should be translucent, almost like a windowpane.
Proof it!
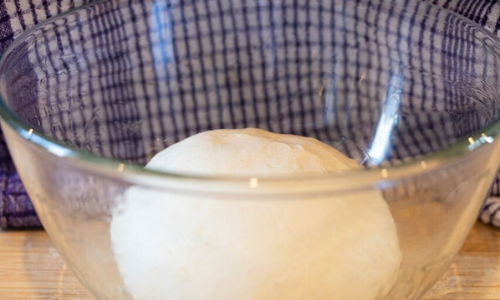
The kneaded bread dough is left to rise in a large, oiled bowl and is covered with cling film or a clean tea towel to protect it from any draughts. Leave the dough in a warm place to rise and double in size. This is known as the ‘bulk fermentation’ or the first proof, as the dough is left to prove as a whole before being divided and shaped. At this stage, the yeast feeds on the starches in the flour, converting sugars into carbon dioxide to create air bubbles in the dough. The first proof is what gives the bread its flavours and aromas.
Proof it again!
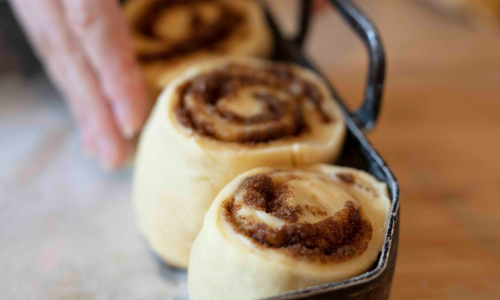
Once the dough has doubled in size, divide the dough and shape before giving it one final proof. The shaped dough can be put into baskets, bowls, loaf tins or as on a tray as a free formed bread. Once shaped, keep the dough covered and allow to prove in a warm place until it has again doubled in size.
Proofed enough?
To check if the dough is fully proofed, poke the dough with your finger. If the dough springs back straight away, it is under-proofed and may need more time. The dough is fully proofed when the indent springs back slowly after being poked. It is important to get your proof time just right so that your bread has a good structure. Getting to know your bread dough takes time and can be a process of trial and error.
Baking the bread
For a good crust on your bread, set the oven to 220˚C/200˚C fan/gas mark 7 and leave a roasting tray in the bottom of the oven to heat up. Preheat the oven for at least a half an hour before baking. Once the oven is up to temperature, fill the hot roasting tray with cold water just before you put your bread in to bake; this creates steam in the oven, which will give the bread a lighter crust.
Stay cool
As tempting as it is to tuck into a loaf that’s just out of the oven, it is important to allow the bread to cool before eating. Cooling allows the texture, flavour and aroma of the bread to develop. Be patient and have the butter at the ready!
For some of our best yeasted bread recipes check out https://easyfood.ie/kitchen_tips/8-great-recipes-for-yeasted-bread/
- summer events
- small business
- gut health
- OATLY
- festival Ireland
- healthy
- Crudo
- food & culture
- top tips
- All Together Now
- events Wicklow
- fridge cake
- Events Waterford
- music & arts festival
- me auld flower
- Events Ireland
- Wicklow Events
- food festival
- news
- dublin
- events Dublin
- dublin festival
- Home-Cooking
- food and drink festival
- online cooking course
- festival line-up
- cooking
- Summer festival
- eco-friendly
- Events
- cosy
- Festivals Ireland
- wine
- Body & Soul
- grapes
- music festival
- south africa


You have to be signed in to comment this post.