When it comes to cake decorating, it can be quite daunting! However, there is no need to fear it. Cake decorating can be really fun and such a personal thing to make for any special occasion, especially your own wedding cake. Here is a handy guide for decorating your own wedding cake.
Cake prep
It’s always good to be as prepared as possible when it comes to cake decorating. Don’t be afraid to bake your sponges ahead of time, sponges freeze really well. I know, I know, it seems a bit wrong, but trust me! Simply allow frozen sponges to thaw for 2-3 hours before use. My top to tip, is to brush your sponges with a simple syrup (equal parts sugar and water) to moisten the sponge. Depending on the flavour of the cake, you can make a citrus drizzle for your cake which will moisten and add flavour. Biscuit cake can also be made ahead of time, it can last for up to 2 weeks in the fridge.
All about that base
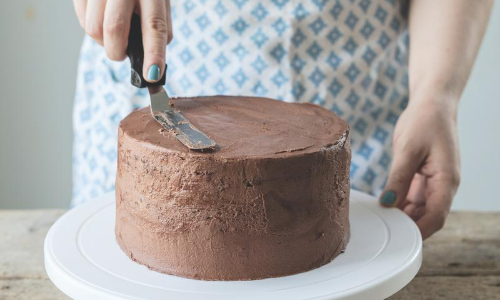
When it comes to an iced cake whether it is covered in fondant or just iced in buttercream, it is important to have a smooth finish. A turntable or even a ‘lazy Susan’ is a great investment when doing cake decorating as it gives you a 360˚ view of the cake. Ensure that the cake is level and even, use a serrated knife to trim any excess around the edges. Stack and fill your sponges with your desired filling, then cover your cake with a buttercream (a mix of icing sugar and butter). Using a pallet knife or offset spatula spread your icing over the top and sides of the cake, making sure to fill in any gaps. The first layer of icing is known as a ‘crumb coat’, as the name suggests there will be crumbs! Place your cake in the fridge to allow the icing to set. Once set, spread over the remaining icing until smooth and covers any of the crumbs. Smooth out the icing with a pallet knife and allow it to set in the fridge, this allows you to have a firm cake when covering with fondant. If the cake is still not smooth, put your pallet knife in some hot water and glide it over the icing as this will melt any of the bumps to give a smooth finish. If you do decide to cover the cake in fondant, remember it can cover a number of sins but if the cake is not smooth it will show through.
Fondant
Before venturing into fondant, it is essential to clean your work surface of any crumbs. Any dirt or crumbs will stick to the fondant and will show through on your cake. Use a damp cloth to wipe the counter clean and dry with some kitchen roll, a tea towel will leave lint which will also show in your fondant.
Kneading

Similar to kneading any dough, it is important to dust your work surface to stop your dough from sticking. When kneading fondant, lightly dust your hands and work surface with corn flour or icing sugar, don’t use too much as it will dry out the fondant. I personally like to use corn flour so you can save your icing sugar for your buttercream. Knead with the palm of your hand for about 30 seconds to a minute; you will feel the fondant get smoother and more elastic. Once kneaded, mould the fondant into a ball for a round cake or a square for a square cake, this makes it easier to keep the shape when rolling it out. Cover the fondant with cling film or place in a zip lock bag to stop it from drying out.
Rolling

To ensure you have the right width of fondant, take a piece of string to measure across the top and sides of the cake. Cut the string to size and keep it for later as a guide.vYou will need a non-stick surface or food safe mat to roll your fondant. There are specific mats for fondant that have helpful grid lines for precise sizing, they are made from silicone and lie flat on your work surface. Dust your surface with some corn flour or icing sugar to stop the fondant from sticking. I like to use an ordinary wooden rolling pin but you can buy non stick rolling pins, both work perfectly; just remember to dust it with some icing sugar or corn flour. When rolling out fondant it is important to work quickly as it can dry out, tear or crack. Remember to keep turning your fondant to have an even roll. The fondant should about 1/8 inch thick, a little thicker is okay but if the fondant is any thinner it will tear. Use the string that was measured earlier to ensure there is enough fondant to cover the cake.
Lift off

Remove your cake from the fridge and brush it with some water so the fondant can stick. Slide your forearms and hands under the fondant to lift the fondant onto the cake. Use your arms as a centre point, lift the fondant just above the cake until your arms are in line with the centre and gently remove your arms out to either side to allow the icing to fall onto the cake. Another method which I prefer, is to roll the fondant onto the rolling pin and drape it over onto the cake, however this takes practice.
Smooth

Once the fondant is on the cake, use your hands to carefully smooth the top edge, it’s important to work from the top down and to work using upward strokes. Smoothing downwards can put stress on the fondant and cause it to tear. There will be folds in the fondant where it overlaps, gently stretch it out and using the palm of your hand press it onto the cake. Continue this process the whole way around until the cake looks almost smooth. You can buy cake smoothers in any cake supply shop. While still working in upwards strokes, use the cake smoother to smooth over any bumps.
Stacking

No matter what type of cake you make, wooden or plastic dowels as essential for stacking cakes. Insert a dowel into the bottom tier, taking care to go straight and right down to the cake board. Use a knife to mark the exact height at the top of the cake and then pull dowel back out. Cut the dowel to the correct length and then cut 2 more dowels using the first a guide. Insert the dowels into the cake tier, spacing them evenly about 1 inch in from the cake board outline. Push the dowels straight down until each one touches the bottom cake board. Place your smaller cake on top of the dowels with a straw board underneath (a thin cake board) that is the same size as the cake.
Decorating
Fondant decorations

When it comes to decorating with fondant, you can get really creative and can recreate almost anything; it’s just like working with clay. However, when starting out cutters are your best friends. You can achieve a showstopper cake without having to hand-mould your decorations. When it comes to certain shapes, cutters are best. However, you can create great decorations by using a sharp knife. Print out your design, cut it out and trace around it onto the fondant using a sharp knife. Basic shapes can also be achieved using different shaped lids from jars or glasses. Use your imagination and you’d be amazed what shapes you can achieve with items you have sitting at home.
If you aren’t confident in your fondant skills, you can also buy ready made fondant decorations in cake supply shops. Cake shops will sell pre made flowers that are edible and look very realistic.
Cake board cover and ribbon

No matter that type of cake you are creating, I always like to cover my cake board with fondant. You can cover your cake board the same colour as the cake or sometimes a different colour can be a nice contrast. For example a pale pink cake with a white cake board. To cover your board, simply knead your fondant, shape into a ball and roll out to slightly bigger than the board. Use a sharp knife to trim off the excess around the edge of the board.
I like to add a thin ribbon around the outer edge of my board, to hide the silver underneath. Wrap the ribbon around the cake and leave a little over lapping so you can attach it to the board. I like to use double sided tape and a clothes pin to secure it to the board. Ribbon is also a nice way to decorate the base of your cake. Same principal as wrapping the cake board but just use the clothes pin to secure it at the back of the cake.
Decorating with fresh flowers

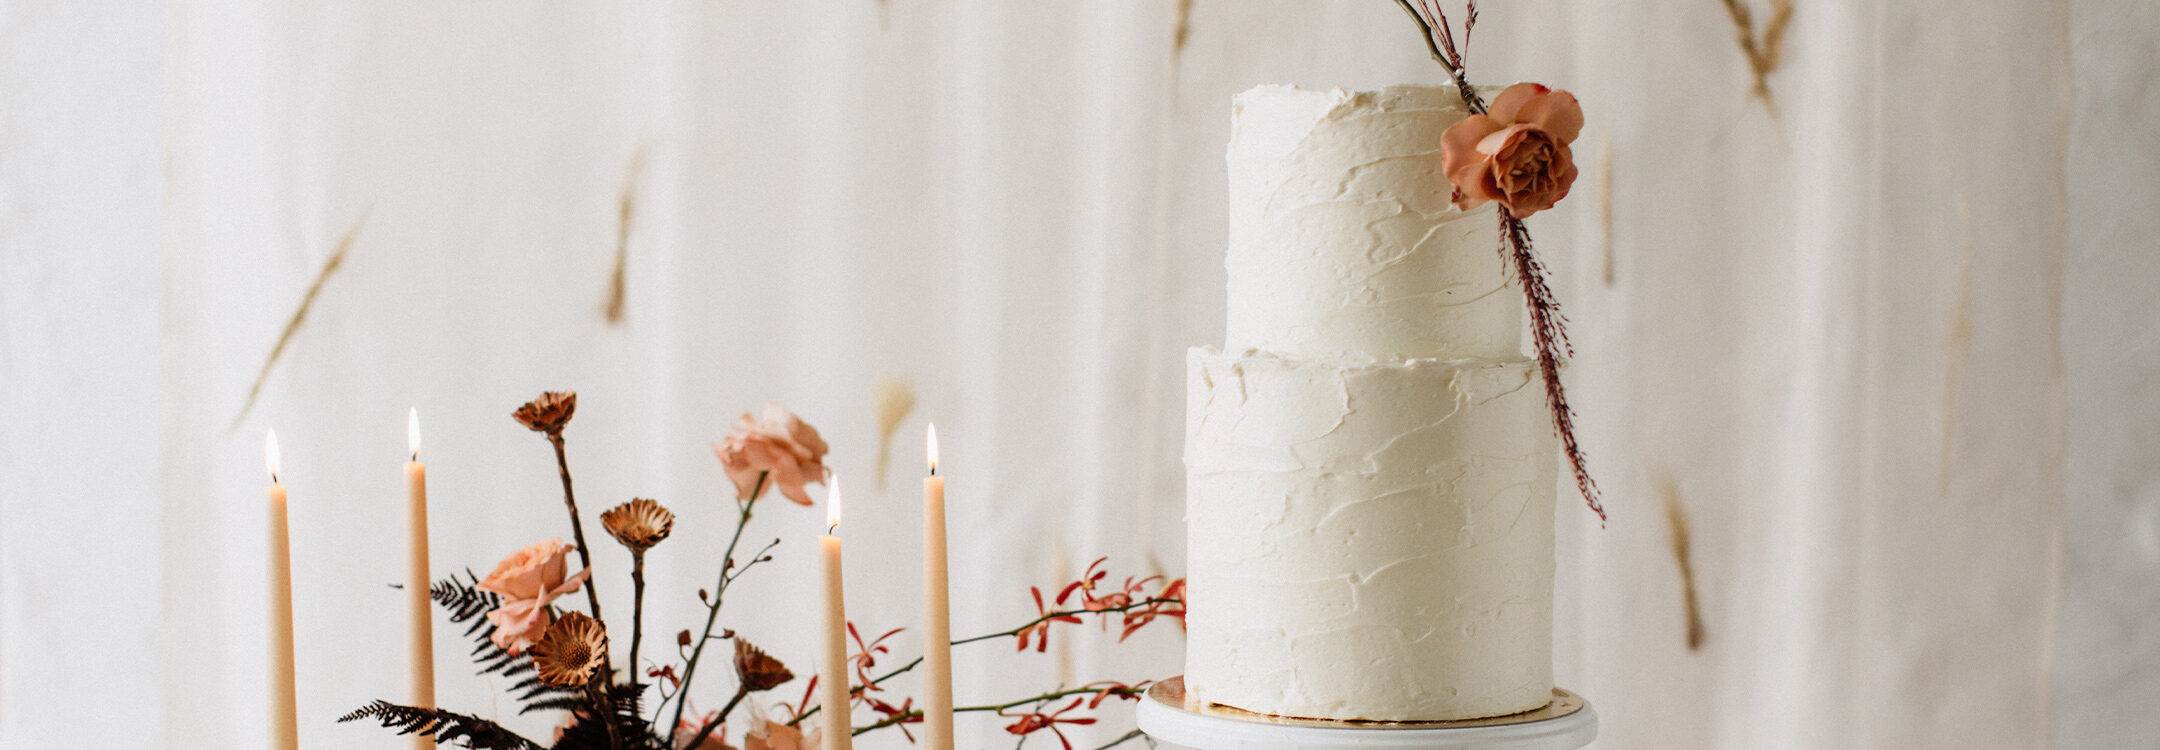
Fresh flowers are a beautiful way to decorate a cake. To use fresh flowers on a cake, you can ask a florist to make a little arrangement for the top of your cake that you can simply sit on top. If you do decide to get an arrangement made, be sure to tell them it is for a cake and know the size of the cake it will be sitting on so they can make the arrangement accordingly.
You can also decorate the cake by sinking the flowers into the cake. You will need to remove the leaves from the stem and wrap the stems in florist tape. You can buy wide straws. Stick the wrapped stems into the thick straws and then using a scissors or pliers to push the straw down into your cake. This way nothing is touching the cake as some flowers can be toxic and are often sprayed with chemicals that are not edible.
- summer events
- small business
- gut health
- OATLY
- healthy
- Crudo
- top tips
- All Together Now
- fridge cake
- Events Waterford
- me auld flower
- Events Ireland
- food festival
- news
- dublin
- events Dublin
- dublin festival
- Home-Cooking
- food and drink festival
- online cooking course
- festival line-up
- cooking
- Summer festival
- eco-friendly
- Events
- cosy
- Festivals Ireland
- wine
- Body & Soul
- grapes
- music festival
- south africa

You have to be signed in to comment this post.