Serves 10-12
adjust servings:
Tick the ingredients you need to add your shopping list.
For the chocolate truffle decorations:
For the chocolate sponge:
For the buttercream:
For the chocolate ganache drip:
For the marble chocolate shards:
For the chocolate truffle decorations: Click here for the instructional video
For the sponge:
For the buttercream and assembly: Click here for the instructional video
For the chocolate ganache drip: Click here for the instructional video
For the marble chocolate shards: Click here for the instructional video
For the piping decoration: Click here for the instructional video
To decorate: Click here for instructional video
- In a saucepan, add the cream and butter. Over low to medium heat, allow the butter to melt and the cream to reach a simmer.
- Add the chopped dark chocolate to a large bowl. Pour the cream mixture over the chocolate. Stir the chocolate and cream together until you have a smooth mix. Allow the mix to chill for four hours.
- In one shallow tray, add the cocoa powder. In another shallow tray, add some Dr. Oetker chocolatey sprinkles of your choice. Line a tray with non-stick parchment paper.
- Once the mix has chilled, take a half tablespoon amount of the mix and roll into a ball.
- Transfer the truffle to the cocoa powder and toss to coat. Once coated, place on the lined tray.
- Repeat step 4, then transfer the truffle to the chocolatey sprinkles and toss to coat. Once coated, place on the lined tray.
- Repeat steps 4, 5 and 6, coating some truffles in cocoa powder and some in chocolatey sprinkles of your choice until all the truffles are made. Set aside for decorating.
For the sponge:
- Preheat the oven to 180°C/160°C fan/ gas mark 4. Line four 15cm cake tins with non-stick parchment paper.
- In a bowl, sieve the flour, cocoa powder and bicarbonate of soda. Stir in the caster sugar.
- In a jug, whisk together the golden syrup, vegetable oil, milk, eggs and vanilla.
- Make a well in the centre of the dry ingredients. Pour the wet ingredients into the well and beat until smooth.
- Divide the mix evenly between the tins. Bake for 25-30 minutes or until a skewer is inserted and comes out clean.
- Once cooled, use a serrated knife to level the tops of the sponges.
For the buttercream and assembly: Click here for the instructional video
- To make the icing, beat together the icing sugar, unsalted butter and vanilla until smooth.
- For the ombre buttercream, remove 400g of the vanilla buttercream and set aside.
- For the lighter buttercream, remove 150g of the remaining vanilla buttercream and stir in 1 tablespoon melted dark chocolate.
- To the remaining buttercream, stir in the remaining melted dark chocolate and the cocoa powder. Stir in a little hot water to loosen the icing.
- To assemble the cake, place the first sponge layer on a thin 15cm cake board (a board the same size as your sponge). Spread over some of the vanilla buttercream and place the next sponge on top. Continue to stack and spread each of the sponges.
- Use a palette knife or offset spatula to spread the vanilla buttercream over the top and sides of the cake, making sure to fill in any gaps. Refrigerate the cake for 30 minutes to set.
- Fill three piping bags with each of your prepared buttercreams and cut a small hole in the end of each bag.
- Start with the darker buttercream at the base and go around the cake twice. Repeat with the remaining two colours, the lighter chocolate buttercream next and finish the cake with vanilla buttercream. Be sure to cover the top of the cake with the vanilla buttercream.
- Using a cake scraper, smooth out the sides by turning the cake and be sure to clean the scrapper as you go. Continue until all sides of the cake are smooth. If there are any gaps, fill them in and continue to smooth with your scraper.
- Smooth the top of the cake with an angled pallet knife and remove any excess. Reserve the remaining buttercream for later.
- Allow the cake to sit in the freezer or fridge until set and cold.
For the chocolate ganache drip: Click here for the instructional video
- In a bowl, add the chopped dark chocolate.
- In a saucepan, bring the cream to a boil.
- Pour the hot cream over the chocolate. Allow it to melt for 1-2 minutes.
- Stir together, allow it to firm up slightly to a pourable but not too runny consistency. You can test the drip by pouring a spoonful to the base of a bowl and see how the ganache drips.
- Pour the ganache over the top of the cake and around the edges, letting it drip down the sides.
- Add some of the remaining ganache into a piping bag and snip a small hole in the end of the bag. Go around the edge of the cake and pipe some extra drips where they may be missing.
- Allow the ganache to set in the fridge for 10 minutes
For the marble chocolate shards: Click here for the instructional video
- In two separate bowls, melt the chocolate according to package instructions.
- Line a baking tray with non-stick parchment paper. Spread the melted milk chocolate on the tray. Drizzle the white chocolate on top.
- Using a skewer, swirl the chocolate together to give a marble effect. Place the chocolate in the fridge for five minutes or until set.
- Option to lightly coat some of the shards with Dr. Oetker Gold Shimmer Spray for a golden shimmer effect and extra fun. Set the sprayed shards aside to dry.
- Once set, use a sharp knife to cut the chocolate into small shards, then set aside.
For the piping decoration: Click here for the instructional video
- To a piping bag with a closed star-shaped nozzle, add some dark chocolate buttercream.
- To the bottom edge of the cake, hold the bag at a 45˚angle. Steadily squeeze and glide the tip along the bottom edge of the cake in an up and down motion.
- Continue piping with steady pressure and once you’ve done the whole base of the cake, release the pressure and pull away the tip.
- Add the light chocolate buttercream to another piping bag with the same nozzle.
- Once the ganache has set, pipe high swirls, starting from the base and swirl your way upwards. Pipe eight swirls around the top edge of the cake.
To decorate: Click here for instructional video
- Place the marble shards in between the swirls of buttercream on the top of the cake.
- Place a truffle on the top of each piped swirl of buttercream.
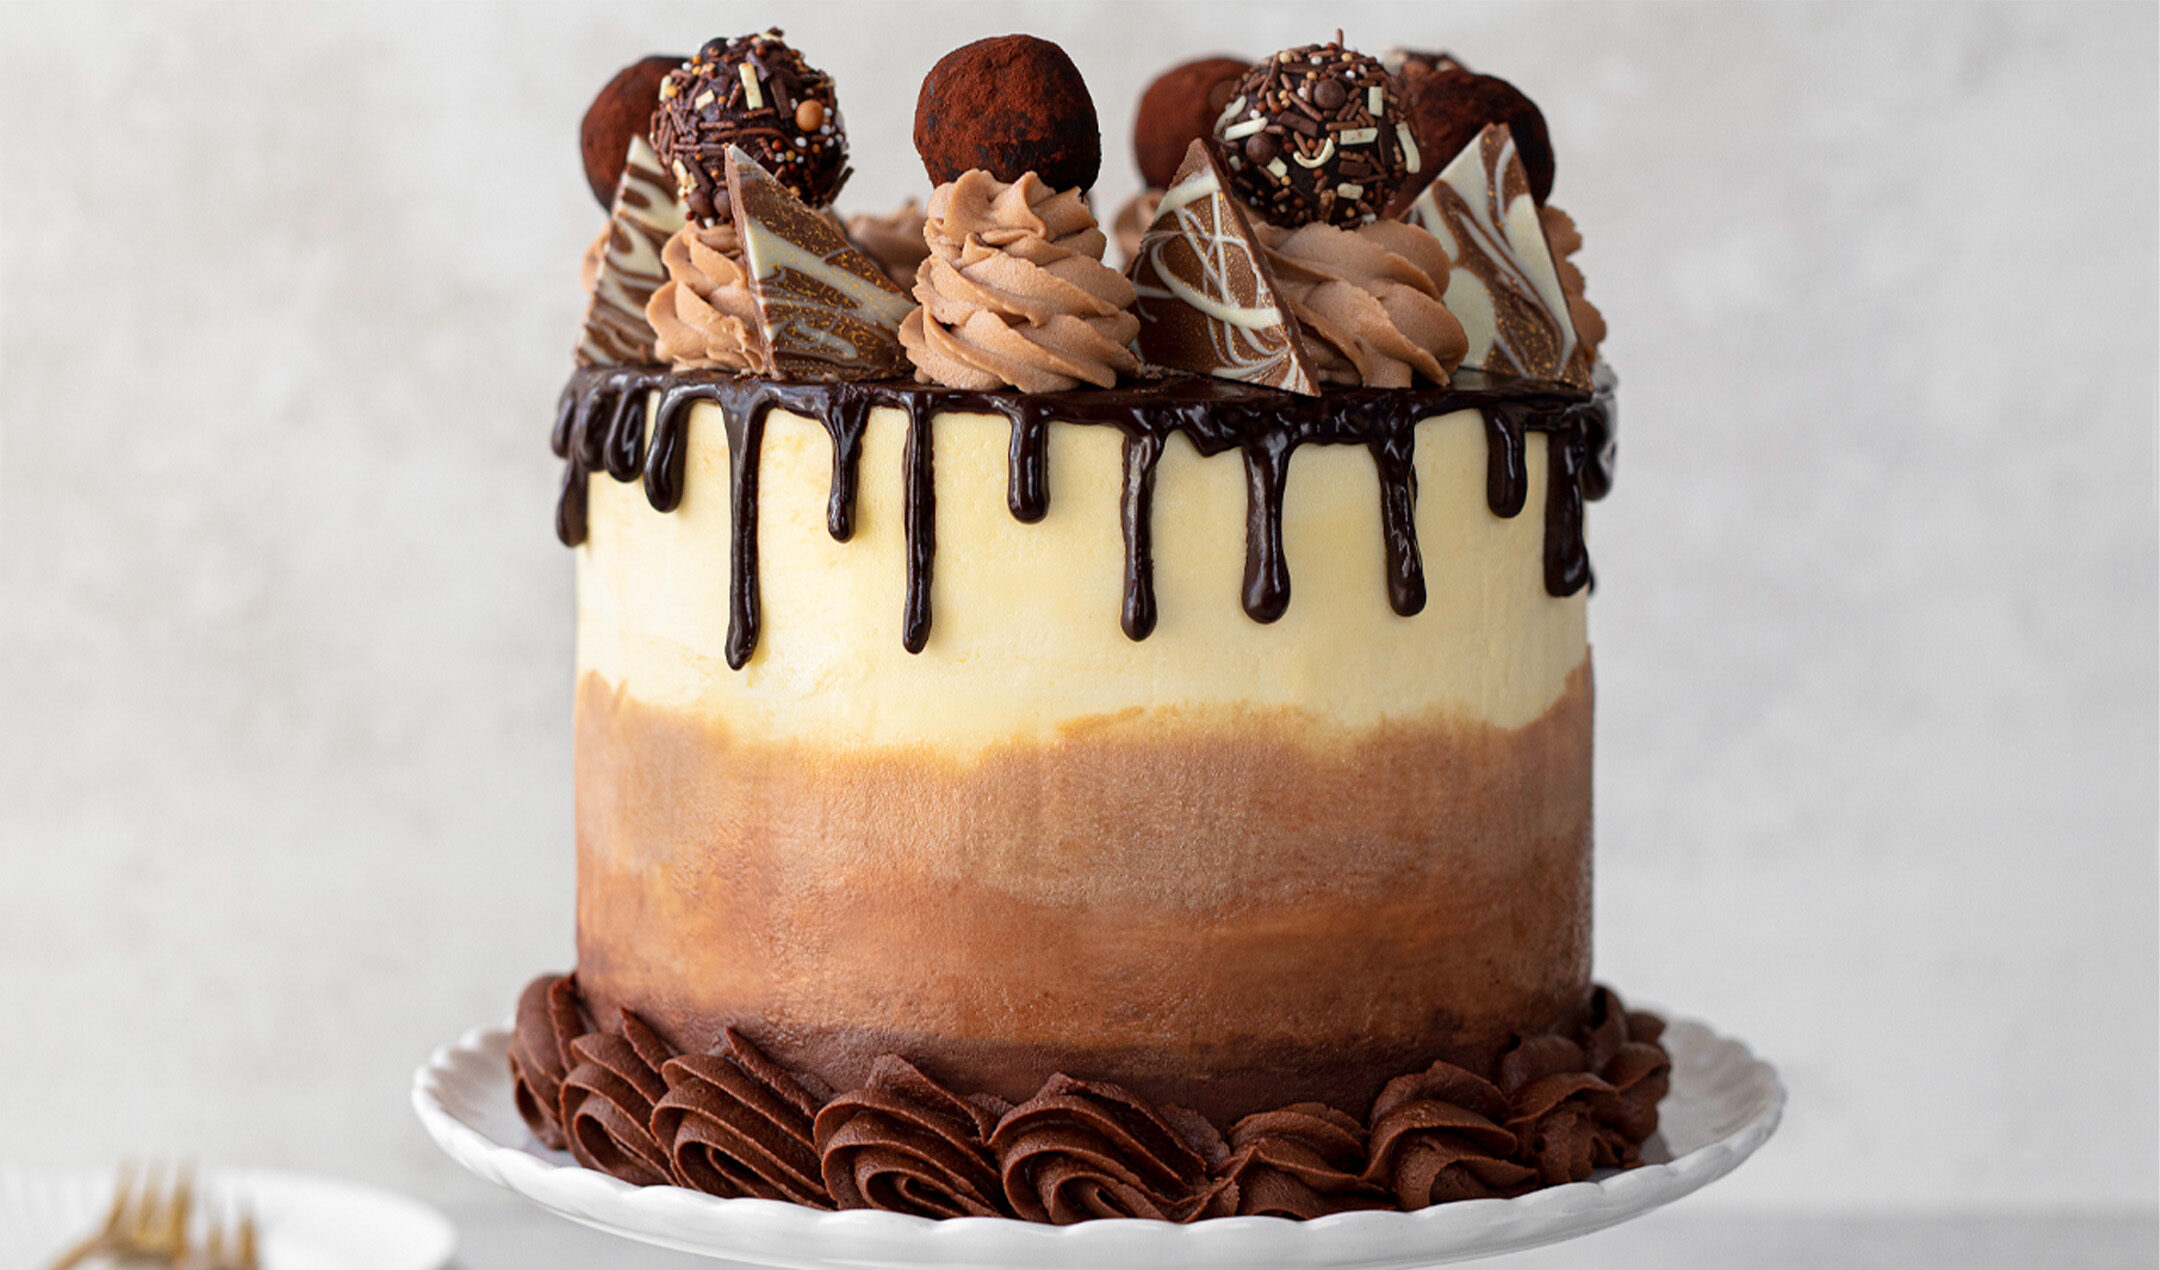
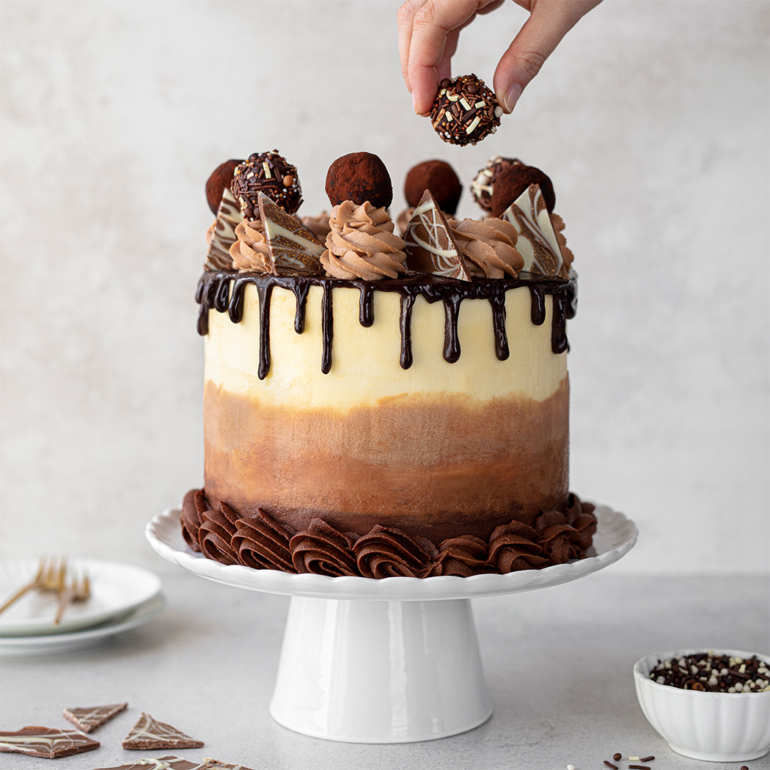
Put your baking skills to the test with this seriously impressive chocolatey masterpiece!
Note: Dr. Oetker Chocolatey Mix can be used as an alternative to Dr. Oetker Chocolatey Caramel Crunch, if you wish.
Popular in Cakes
 Passionfruit meringue gateaux


