
adjust servings:
Tick the ingredients you need to add your shopping list.
- In a bowl, combine the flour, salt and warm water. Mix until it starts to come together and form a dough.
- Take the dough out of the bowl and knead for at least 10 minutes. If your dough is too dry, add a little bit more water and continue to knead. The dough should be smooth and it should be easy to press a handprint into it. If it seems too hard or not smooth enough, continue kneading for longer. If it’s still too dry, add a little bit more water (but not too much or it may get too wet).
- Roll out the dough to 1⁄2-1cm thickness. If the dough is too thick, it will take too long to dry.
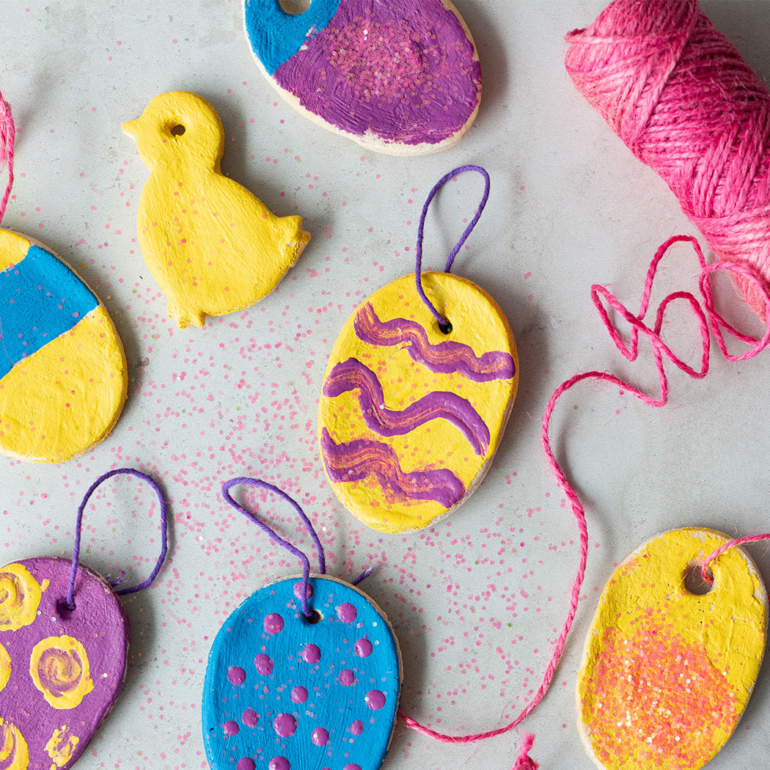
- Cut out your desired shapes and arrange them on a baking tray. Using a straw, make a hole in the top of each ornament for hanging them later on.
- Preheat the oven to 120 ̊C/100 ̊C fan/ gas mark 1⁄2 and bake your ornaments for 1-2 hours. Once the tops of the ornaments look dry and solid, flip them over. The time needed to bake the ornaments will depend on their thickness. If your ornaments are still doughy, put them back in for another hour. If they’re taking too long in the oven, you can finish them by air-drying them for a few days; make sure to flip them over occasionally so both sides are exposed to the air.
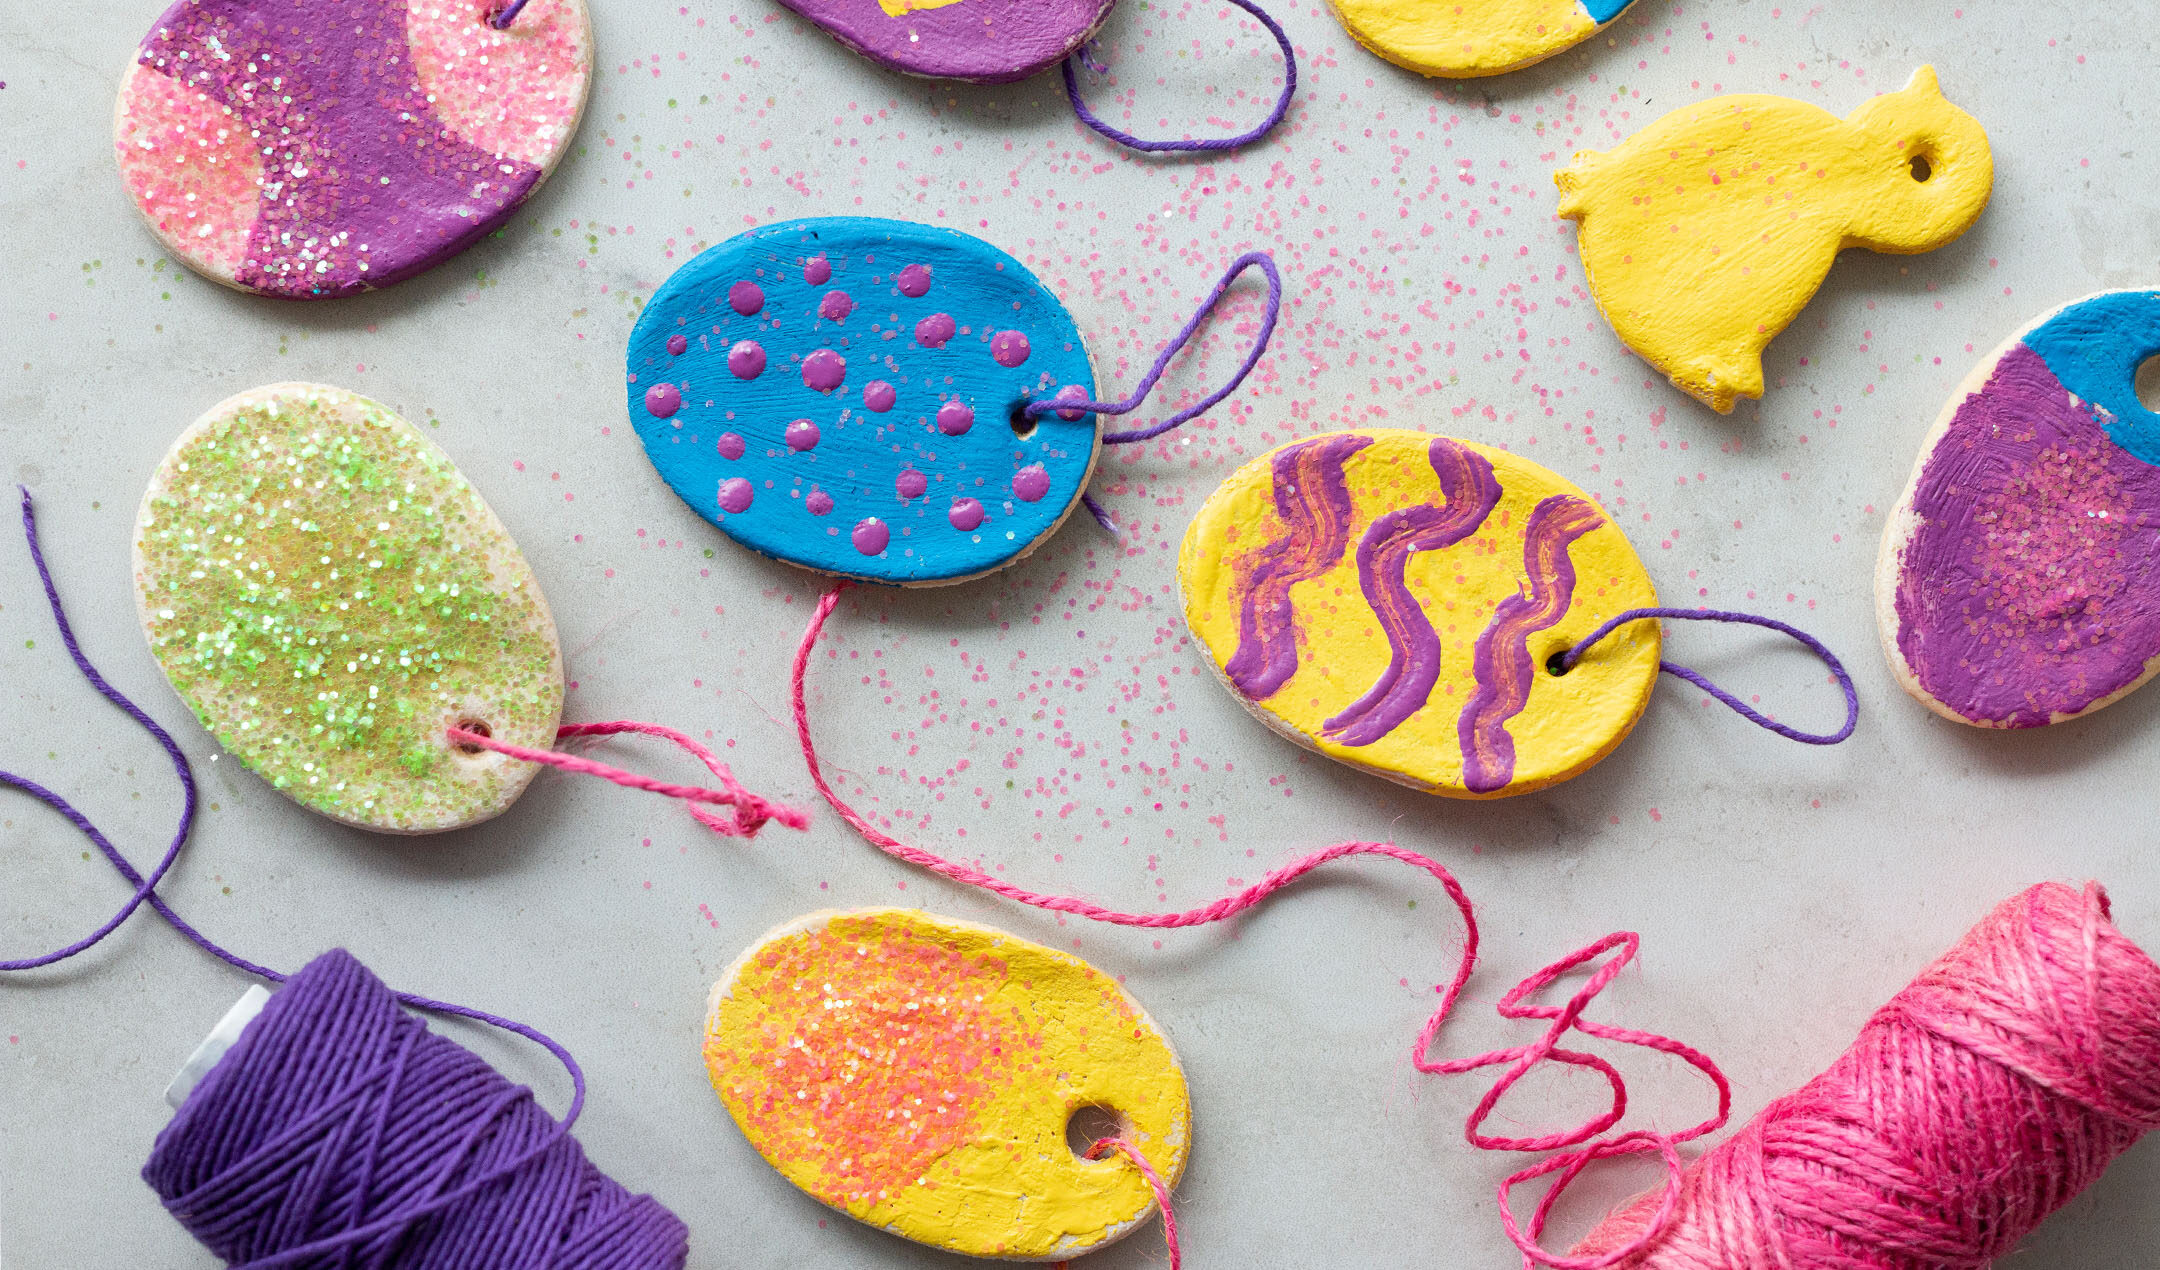
- When they are fully dried out and cooked, decorate them however you like.
- Once you are done decorating, you can seal them with clear lacquer spray. Adults should do the spraying and always follow the directions of the product chosen.
- Sealing the final ornaments will help stop them from cracking in a few years and prevent moisture from getting in.
Popular in Easter
 Mint Chimichurri Lamb Chops by O’Hanlon Herbs