Serves 15-20
adjust servings:
Tick the ingredients you need to add your shopping list.
For the sponge:
For the orange syrup:
For the buttercream:
- Preheat the oven to 180˚C/160˚C fan/gas mark 4. Line three 20cm cake tins and two 10cm cake tins.
- Beat together the butter and sugar until light and fluffy. Slowly stream in the eggs, mixing after each addition.
- Add the orange zest. Sieve in the flour and baking powder and fold in gently.
- Divide the mix evenly amongst the relevant tins and bake for 25-30 minutes or until a skewer inserted in the centre comes out clean. Set aside to cool to completely.
- For the syrup, combine the orange juice and sugar in a pan and bring to the boil. Allow to bubble for 2-3 minutes until syrupy.
- Using a pastry brush, lightly brush the sponges with the syrup. This will add to the flavour and keep the cakes moist.
- For the buttercream, sieve together the icing sugar and spices in a large bowl. Beat in the butter until smooth. Use the juice of an orange or some boiling water to loosen the mixture to a spreadable consistency.
- LPour about 450g of cake batter into each of the 20cm tins, then divide the remaining batter between the two 10cm tins.
- Bake the 10cm cakes for 15-20 minutes and the 20cm cakes for a further 5-10 minutes. Allow to cool completely before decorating.
- To ice, place the first 20cm sponge onto the cakeboard using a teaspoon of buttercream to help the cake stick.
- Spread over some of the buttercream and add the next sponge on top. Repeat this step to add the third cake.
- Using a palette knife or offset spatula spread the buttercream over the top and sides of the cake, making sure to fill in any gaps. There will be crumbs in the icing so place the cake into the fridge for 30 minutes to set.
- Use the same method to stack one 10cm cake on top of the other and coat with buttercream. Place this cake into the fridge for 30 minutes.
- Once the two cakes have set, spread over more buttercream to cover any crumbs and smooth out the buttercream. Refrigerate the cakes until set.
- To stack the cakes, use a 10cm straw board (skinny cake board).
- Insert a wooden or plastic dowel into the 20cm cake, taking care to go straight and right down to the cake board. Use a knife to mark the exact height at the top of the cake, then carefully pull the dowel back out.
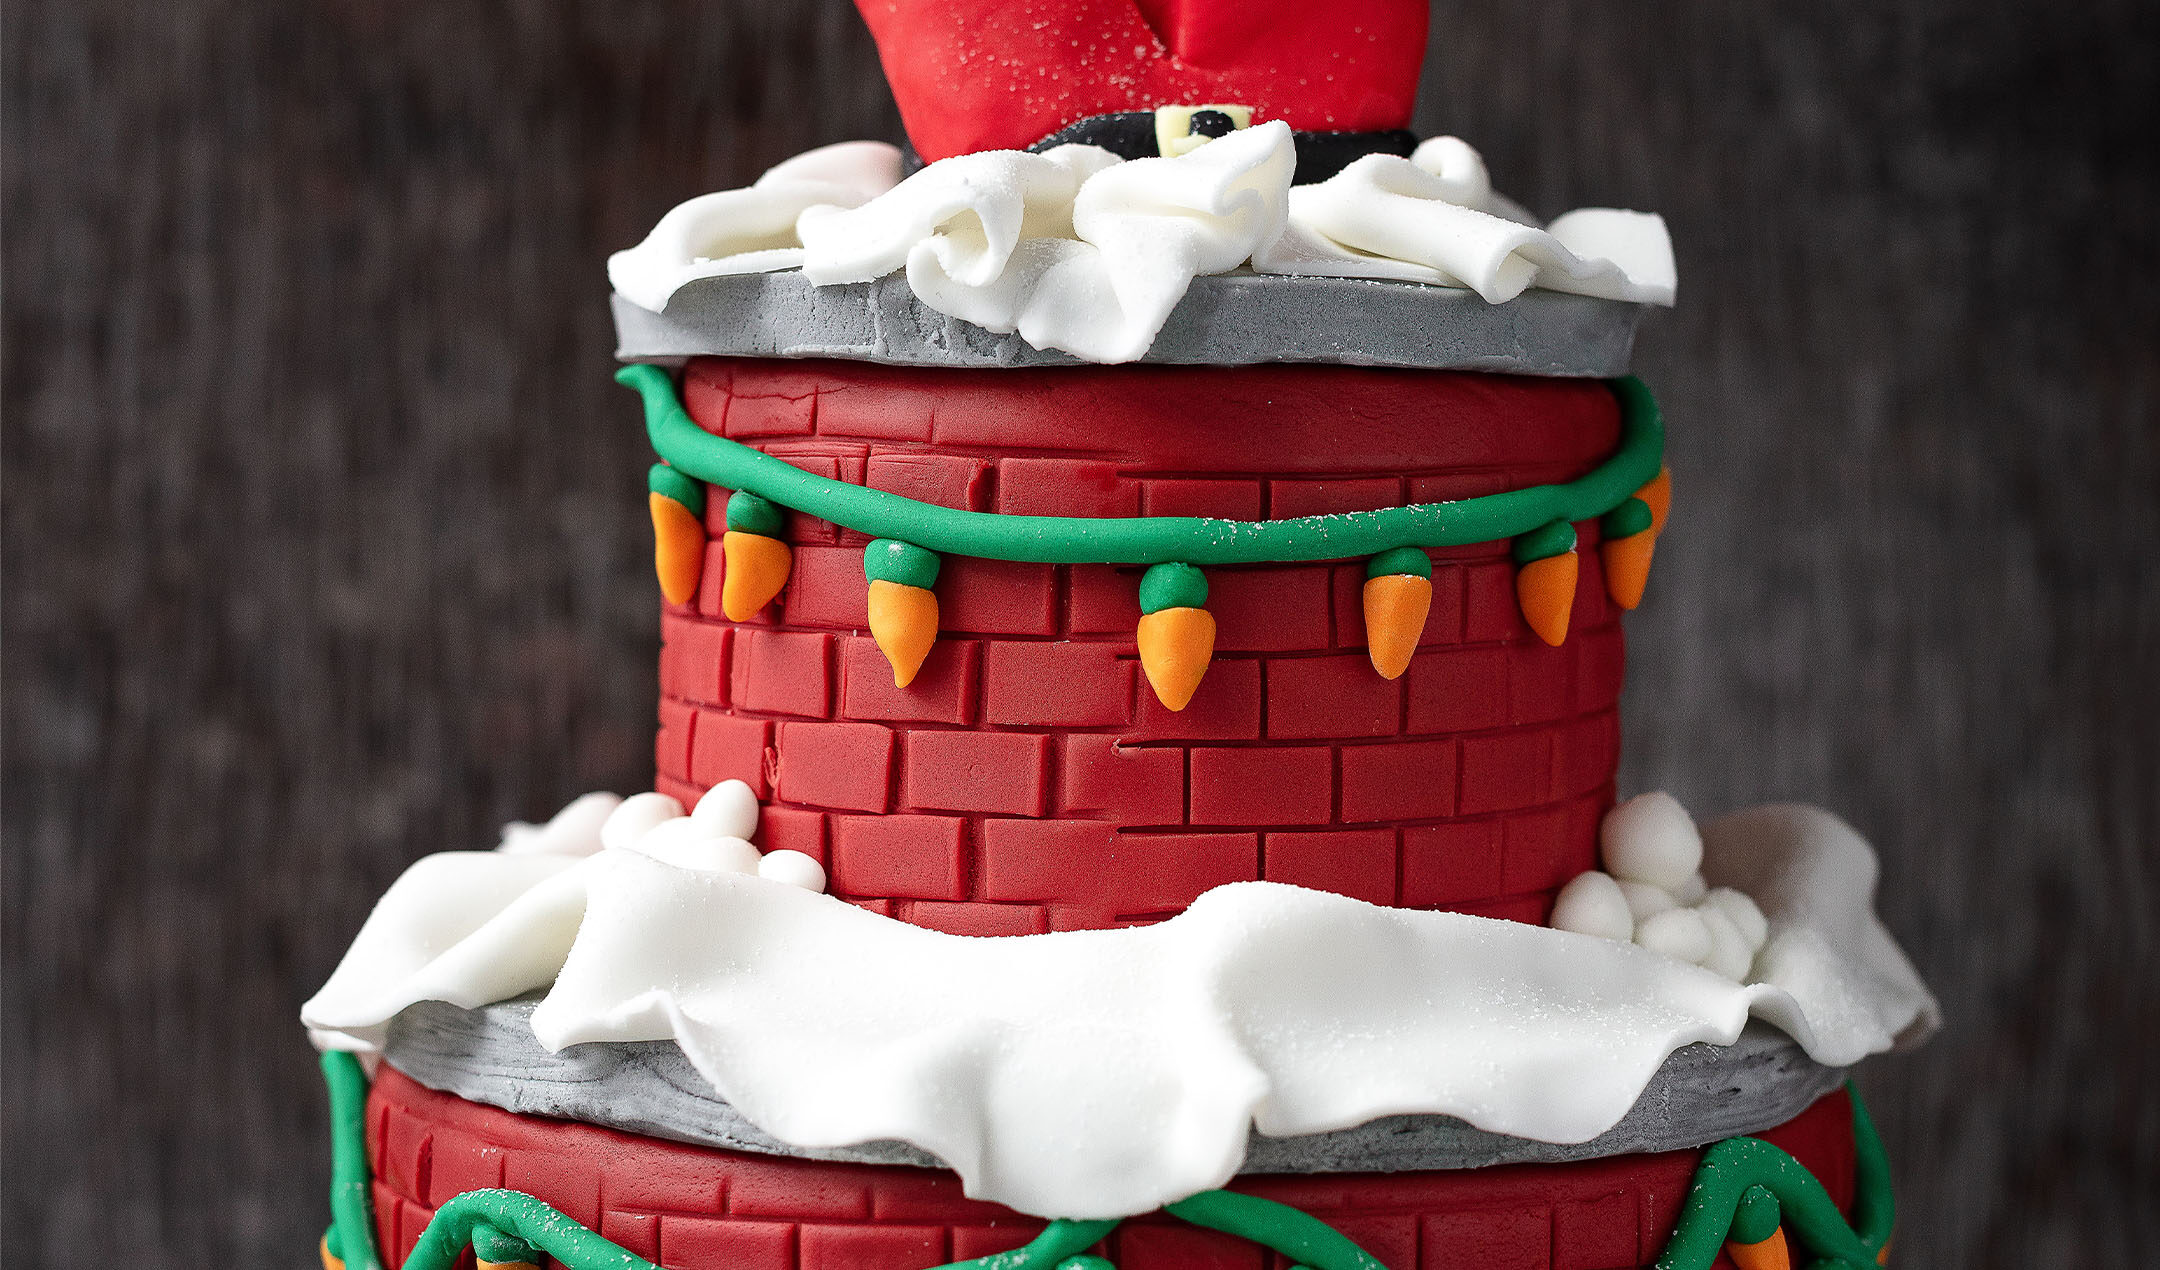
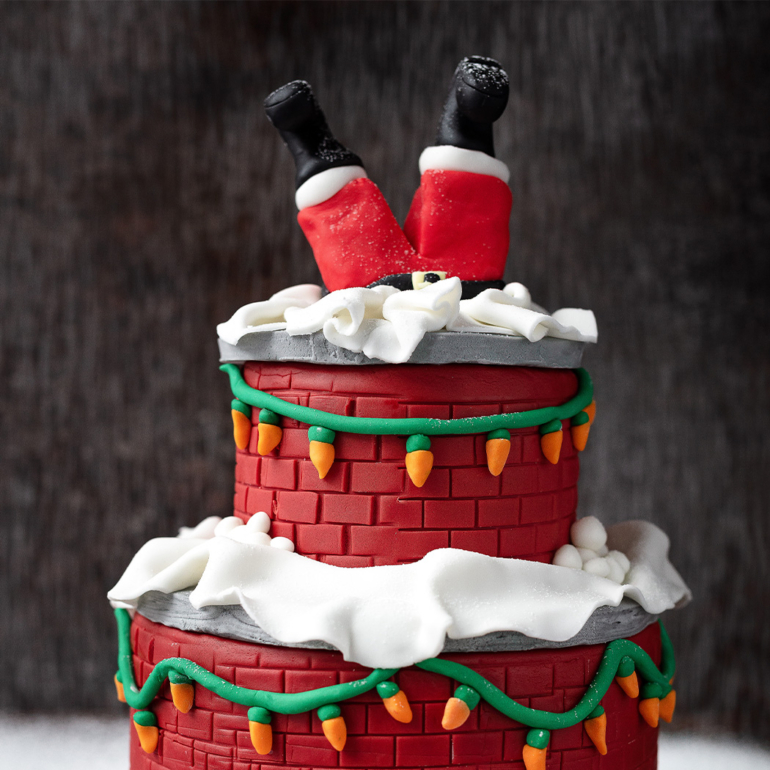
- Using a brick impression mat, press the brick effect around the sides of both cakes. If you don’t have the mat, you can cut the brick affect with a knife or a small rectangle shaped cutter.
- Roll out a piece of grey fondant (knead some black fondant or food colouring into white fondant) to about 1.5cm thick. Use a sharp knife to cut around a cake tin or a plate the same size as the cake. Cut out two grey disks for the top of each layer. Using a light brush of water, stick the grey disks to each layer.
- For the snow, roll out two pieces of white fondant until thin. Use a sharp knife to trace around the edges of the fondant. Roll out balls of white fondant for snowballs.
- Drape a piece of white fondant on the top of both cakes to look like snow.
- To make Santa’s legs, take a small square piece of red fondant and cut a line in the center. Cut a small trip of black fondant for his belt and a small square of yellow fondant for his belt buckle. Use two small pieces of black fondant to make his boots and top with a small disk of white fondant for the fur. Use toothpicks to keep the legs together.
- To make the lights, roll out a sausage of green fondant for the “wire”. Make small balls of green fondant and small triangles of orange fondant. Use a little water to stick the orange to the green, these are the bulbs.
- Brush on some water to help Santa stick to the top, using the toothpicks to secure him to the top of the cake.
- Use a little water to secure the lights to the side of the cake on both layers.
Nutrition Facts
Per Serving 504kcals, 27.6g fat (16.9g saturated), 63.5g carbs (48.7g sugars), 3.8g protein, 0.9g fibre, 0.204g sodium
Popular in Cakes
 The lazy baker's Biscoff dream tart

