Serves 6-8
adjust servings:
Tick the ingredients you need to add your shopping list.
For the pavlova
For the mascarpone cream
- Preheat the oven to 120°C/100oC fan/gas mark 2. Line three baking trays with parchment paper.
- Use an electric mixer to whisk the egg whites in a clean, dry bowl for a few minutes until soft peaks form.
- Gradually add sugar, one tablespoon at a time, beating well after each addition, until the meringue is thick and glossy and the sugar has dissolved. Rub a little meringue between your fingers; if it’s still gritty, continue to whisk until the sugar dissolves.
- Add the vinegar and cornflour and fold until just combined.
- Spoon the meringues evenly onto the lined trays and use a spatula to shape into three 20cm discs. Bake for 1½ hours or until dry to the touch. Turn off the oven and leave the pavlova inside, with the door ajar, to cool completely.
- In an electric mixer whisk half (400ml) of the double cream with the icing sugar until stiff peaks form. Empty into a bowl and set aside.
- Add the mascarpone and coffee to the bowl of the electric mixer and whisk until combined. Add the remaining double cream and whisk until soft peaks form. Fold the cream you set aside and the crushed Elite Chocolate Kimberley into the coffee cream until combined. There’s no need to over-mix, the marble effect will look quite nice.
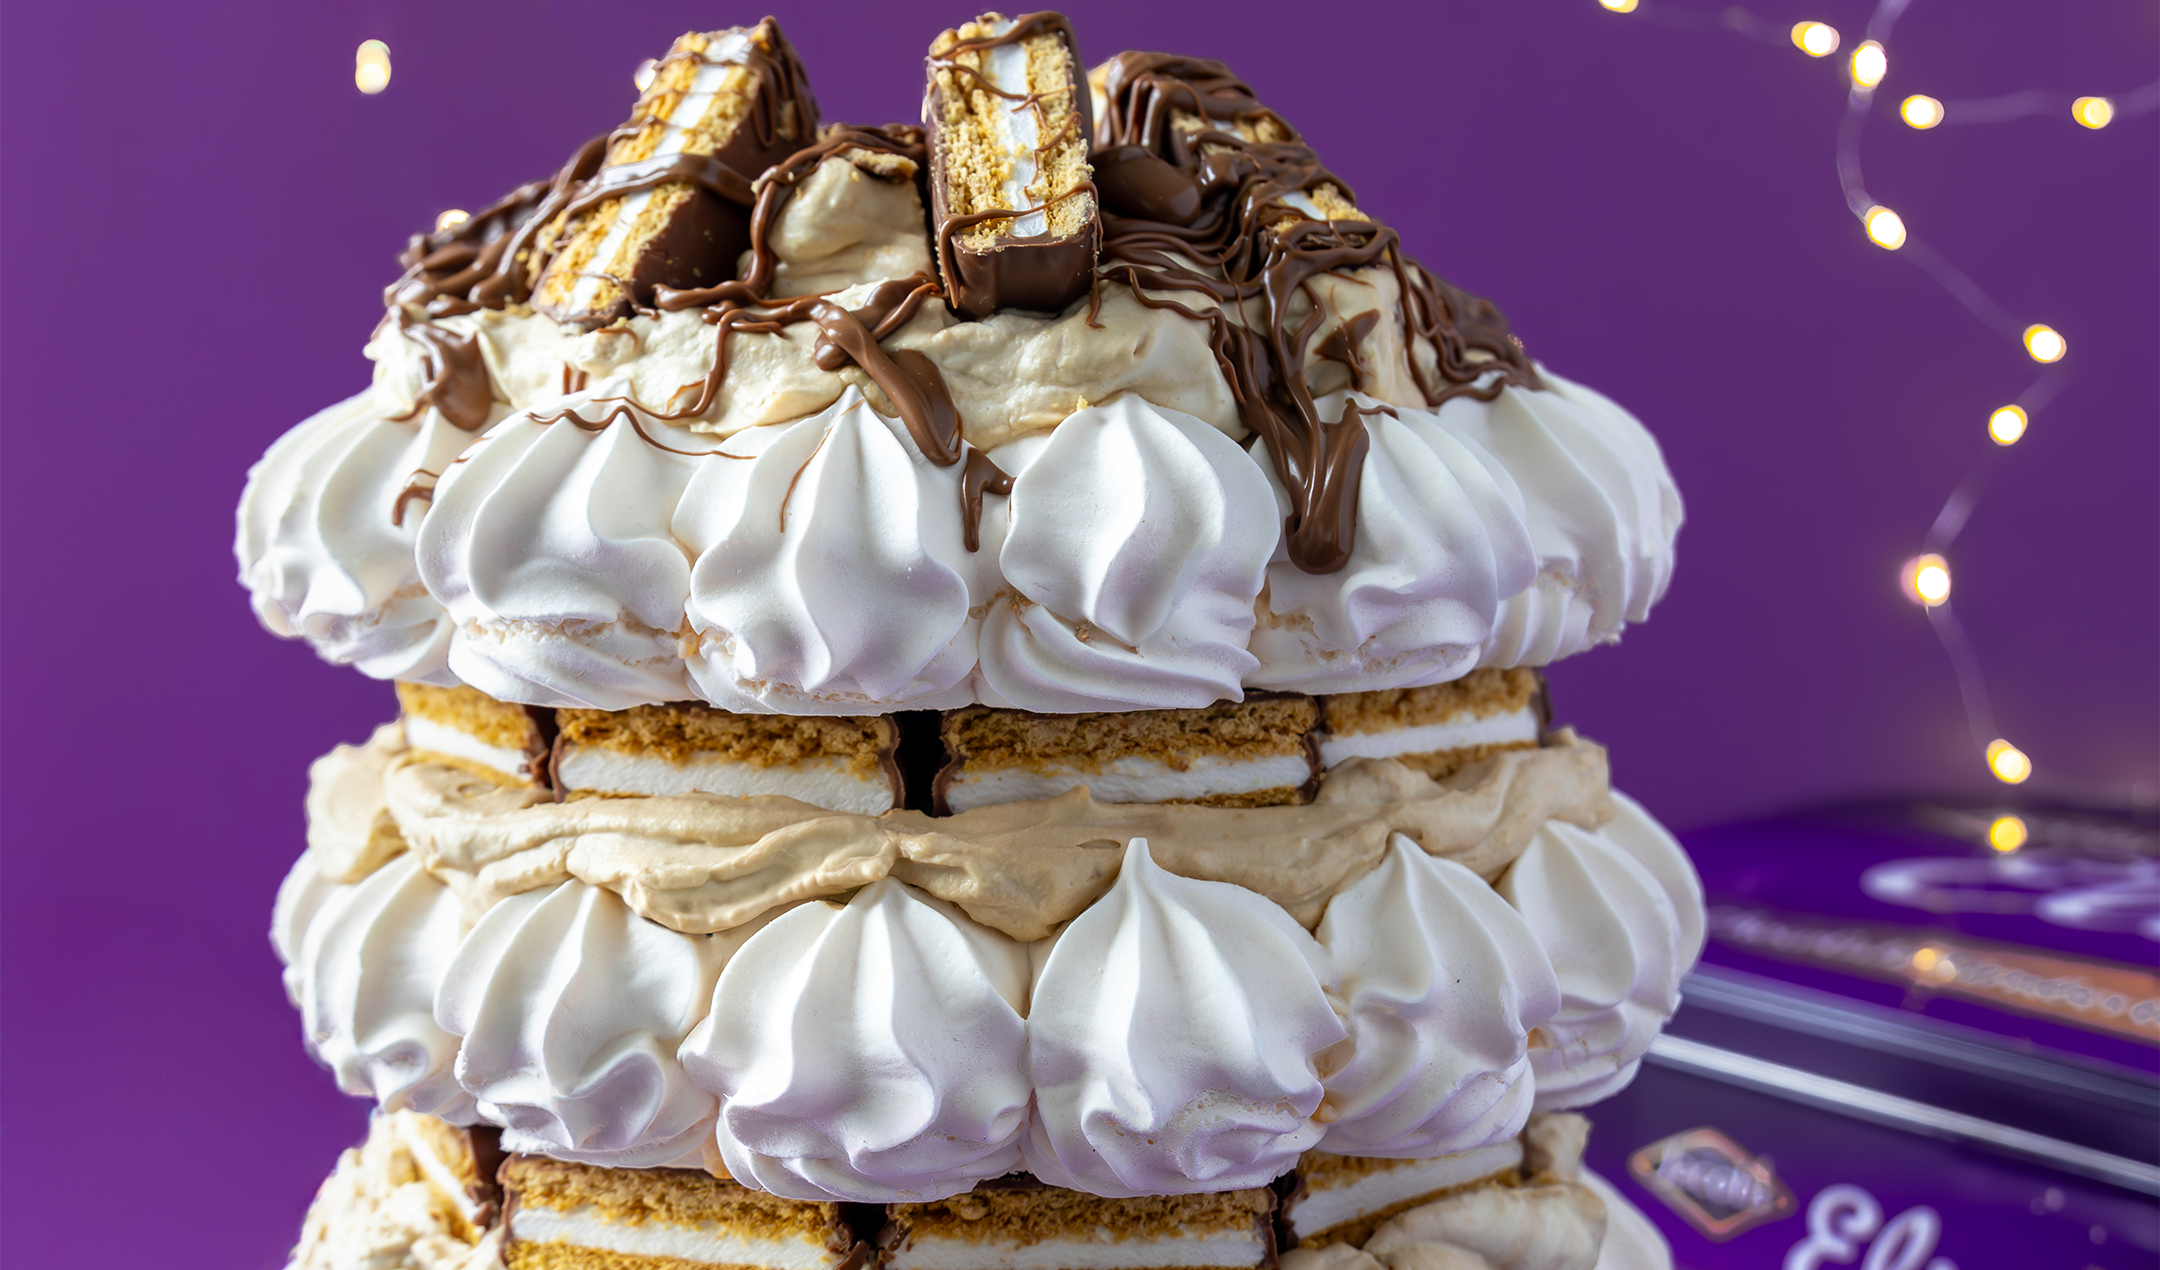
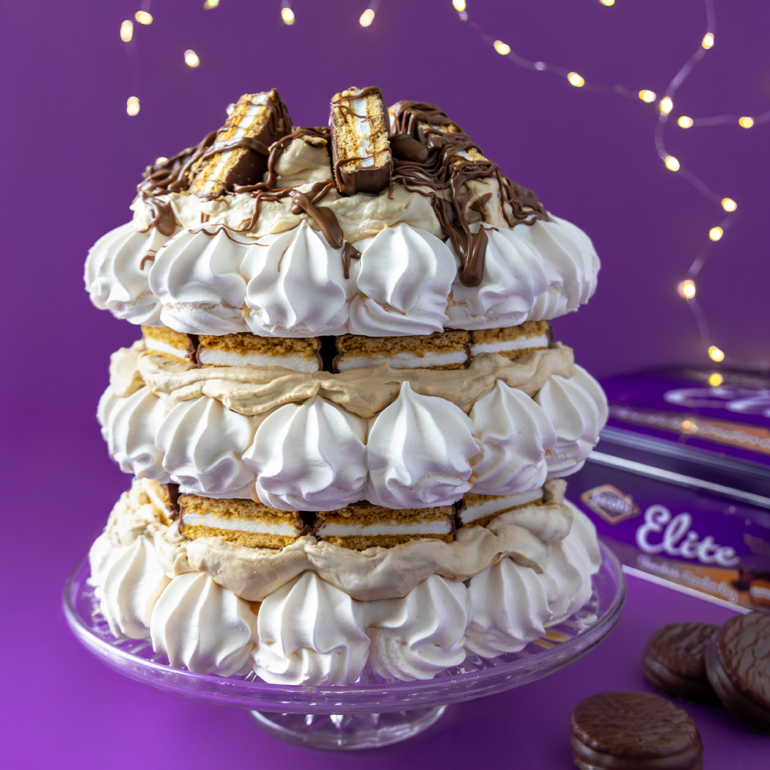
- To assemble, place one layer of the meringue on a serving plate or cake stand. Add a dollop of the mascarpone cream in the centre – roughly ⅓ of the mixture. Add a layer of the Elite Chocolate Kimberley biscuit halves around the edge of the cream, making sure the cut side faces out. Add the next meringue layer and repeat this same step. Top with the last meringue disk and add the remaining cream.
- To decorate, place the rest of the Elite Chocolate Kimberley halves around the top, and drizzle with melted chocolate.
- Serve immediately.
Test Kitchen Tips:
- If you’re strapped for time, you could use shop-bought meringue bases in place of homemade ones – making this dessert seriously impressive, but oh-so-easy to make!
- You can make the pavlovas up to four days in advance. Store them in an airtight container in a cool, dry place until you’re ready to assemble.
Popular in Christmas
 Caramelised pear & goat’s cheese crostinis by EUROSPAR


