Shannon Peare, one of Easy Food’s resident food stylists, shares her top tips for expert cake decorating.
I got 99 problems but a cake ain’t one
The thought of baking a cake from scratch can be daunting. We’ve all had those moments of inspiration when we decide to make a cake — picking the recipe and buying all of the ingredients, only to watch it slowly sink, blow up or not even rise in the oven. Sure, this can be disheartening but, while baking can be technical, it’s also meant to be fun!
I learned how to bake at the age of three, starting out with the basic shortbread biscuit, later graduating to the more technical Barbie Cookbook and eventually completing stages in the pastry kitchens of some of Ireland’s best-known hotels. Trust me, I have made many a mistake in my time, so I’ve put together some of the more common mishaps that can befall your cake, so that — whether you’re an expert baker or you’re still thumbing through the pages of your own Barbie Cookbook — you can make sure your next bake is a success.
“My cake mixture looks like scrambled eggs!”
During the creaming method (beating the butter and sugar together) it is important that your ingredients are at room temperature. The butter needs to be soft when mixing it with the sugar to achieve a light and fluffy texture. After this stage, you can stream in the eggs. If the eggs are cold, it can cause the butter to harden. This can then cause the mixture to curdle, which looks like scrambled eggs.
What to do?
Warm the mixture slightly, then whisk it back to a smooth consistency. If you add your eggs too quickly to the creamed mixture, it can also split. It’s similar to making a mayonnaise, in that it’s important to add the eggs slowly as you are adding air to the mixture. However, there’s no need to throw the mixture away if it splits. Often, adding an extra egg or a spoonful of warm water can salvage things. Another trick is to add a tablespoon of flour to the mixture; it may not turn out as light in texture, but it will taste the same.
“My cake sank!”
A sunken cake is a very common problem, and often it can be down to a simple mistake at the end of the cooking process. When checking your sponge in the oven, it’s essential to open the door slowly. The cake has not yet set so, if the door is whisked open, the cake can sink.
Deciding to add a ‘little extra for luck’ can also cause a cake to sink. The use of too much raising agent can cause the cake to rise too quickly, not allowing it to set in time. Too much liquid is also a common problem. It makes the mixture too soft and causes it to drop.
What to do?
If this happens, hollow out the centre and add a fruit filling or compote. Icing can also work wonders! Lather it on and no one will notice.
Carefully using a serrated knife to level out the cake can completely remove the dip. If you do wish to remake your sponge, you can also cut up the sunken cake and freeze it for a perfect addition to your next trifle.
“Stuck to you like glue”
This is all down to the lining of the tin. Parchment or greaseproof paper is essential for lining the base and sides of the tin. If you’re not comfortable with lining the sides of a tin, use this method instead: grease the sides of the tin with oil or butter, then add a small bit of flour. Rotate the tin until the flour has stuck to the greased bottom and sides, then tap out the excess. Adding oil or butter to the sides would ultimately fry the sides of the cake, making them brown and crispy; the flour is there to act as a barrier between the sponge and the tin.
What to do?
If your cake does stick, allow it to cool in the tin for about a half an hour. Run a knife around the edges, place a plate or cooling rack on top of the tin and then flip. The cake should come free.
“We do not have lift off…”
It may seem silly, but we’ve all done it — did you remember the raising agent? It is so easy to miss an ingredient. The raising agent is, of course, what gives your sponge lift. Whether you use self-raising flour, bread soda or baking powder, if the recipe calls for it, you’ll need it.
We use such small amounts of raising agent at a time that they are often forgotten about in the cupboard and go out of date. They can lose their strength if they’re out of date, so always make sure to check.
What to do?
If the cake has not risen, it may still be undercooked and just need a few more minutes. Insert a skewer or a knife into the sponge; if it comes out clean, the cake is cooked. However, if the cake still has not risen, it may be due to the size of the tin. If the recipe is for a certain size, using a larger tin will mean the mixture is spread out too thinly and you will not get as much height.
“Bone dry”
No one wants a dry sponge! Recipes can often call for a particular size of eggs, and size does matter in the context of a cake. If you only have small eggs when the recipe requires large, you should add an extra egg. The lack of liquid and eggs can result in a dry sponge.
What to do?
Try remedying a dry cake with a homemade simple syrup. Dissolve equal parts sugar and water in a pan over a gentle heat. To avoid drowning the cake, dab some of the syrup on using a pastry brush to just moisten the top of the cake. You can substitute some of the water with the juice of lemons, limes or oranges.
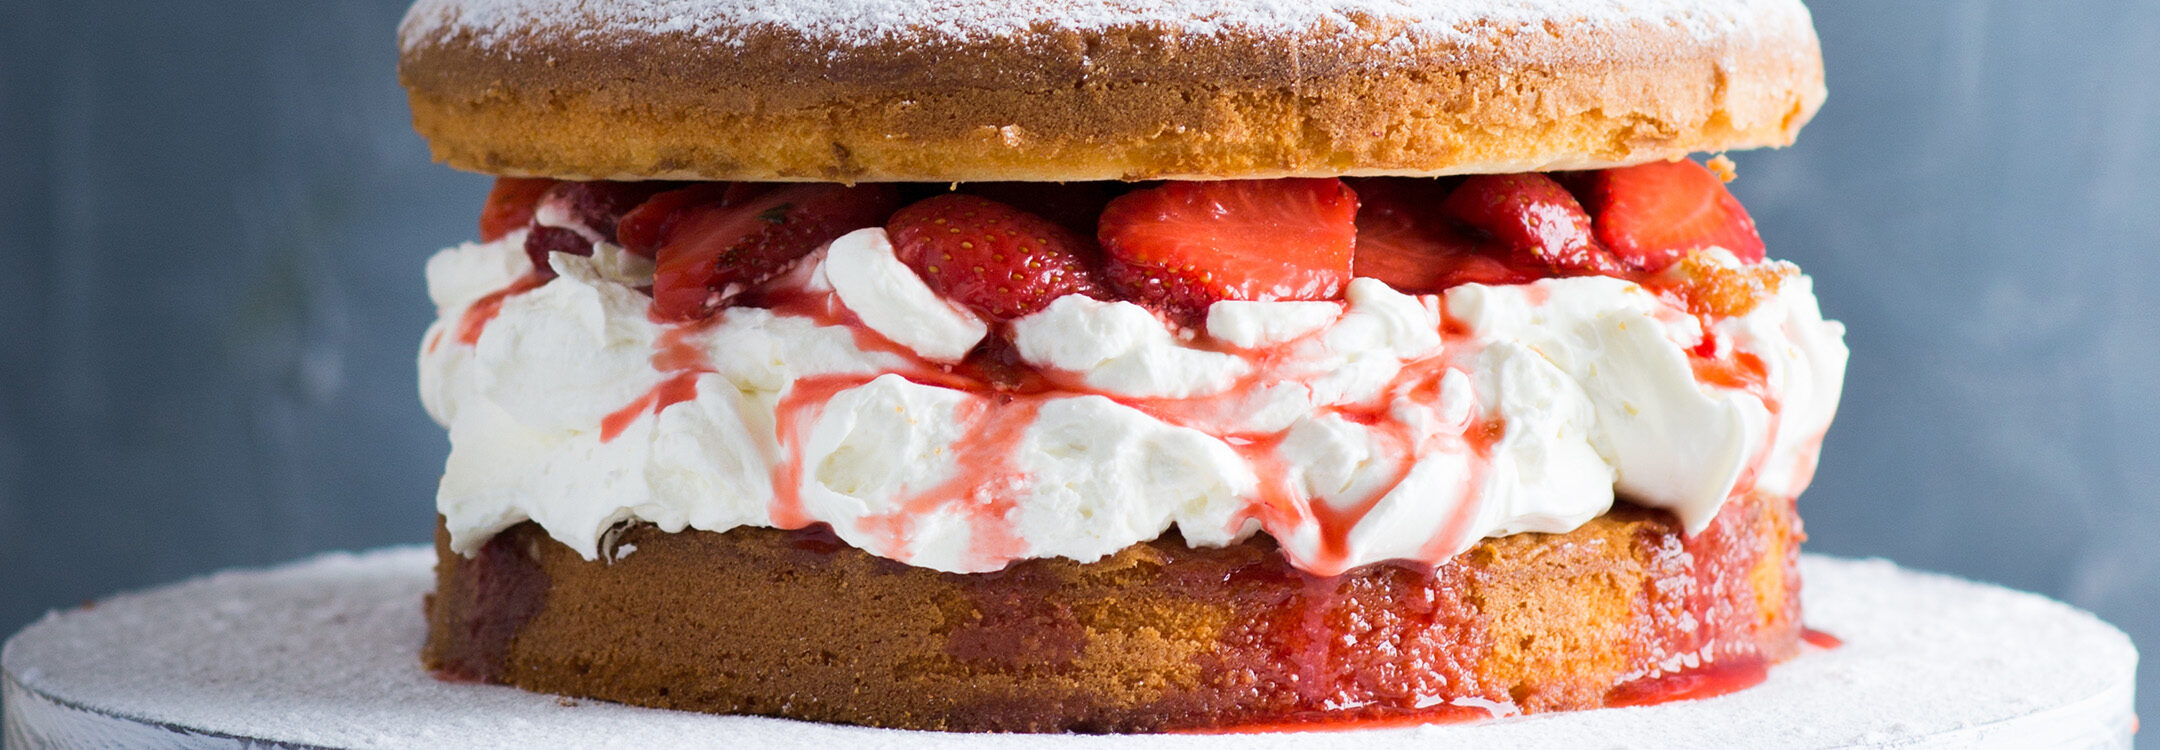
The lesson here? There are many things that can go wrong with cakes, but you can always save it with a little love… and a lot of jam and cream! A Victoria sponge is a classic for a reason, so here is a simple sponge recipe that will be a fail-safe to have in your repertoire. Once you’ve mastered this basic, feel free to make it your own by substituting your favourite fruits, jams or flavourings.
- gut health
- healthy
- top tips
- fridge cake
- food festival
- me auld flower
- dublin
- dublin festival
- food and drink festival
- festival line-up
- Summer festival
- Events
- Festivals Ireland
- Body & Soul
- music festival
- summer events
- OATLY
- Crudo
- All Together Now
- Events Waterford
- Events Ireland
- news
- events Dublin
- Home-Cooking
- online cooking course
- cooking


You have to be signed in to comment this post.