
Serves 36-40
adjust servings:
Tick the ingredients you need to add your shopping list.
For the sponges:
For lemon syrup:
For the buttercream:
To decorate:
- Preheat the oven to 180°/ 160°C fan/ gas mark 4. Grease the bottom and sides of two 15cm and two 20cm tins and line with parchment paper.
- Beat together the butter and sugar until light and fluffy. Slowly stream in the eggs, mixing between each addition. Sieve the flour and baking powder, add the zest of two lemons and fold in until just incorporated.
- Divide the batter evenly among the tins and bake for 25-30 minutes, or until a skewer inserted into the centre of the cakes comes out clean. Set aside and allow to cool completely.
- Combine the ingredients for the syrup in a small saucepan over a medium-low heat, stir until the sugar is dissolved. Use a pastry brush to lightly brush the sponges with the syrup; this will add to the flavour and keep the cake moist.
- For the buttercream, sieve the icing sugar into a large bowl. Beat in the butter, lemon zest and juice. Beat until smooth; add extra lemon juice until the mixture forms a spreadable consistency.
- Place one of the 20cm sponges onto a cake board; use about a teaspoon of buttercream on the board to help the cake to stick.
- Spread over some buttercream, top with a layer of fresh raspberries and add the next 20cm sponge on top. Using a palette knife or offset spatula spread the buttercream over the top and sides of the cake, making sure to fill in any gaps. There will be crumbs in the icing, so place the cake into the fridge for 30 minutes to set.
- Once set, spread over more buttercream to cover any crumbs. Refrigerate the cake until set.
- Repeat steps 7 and 8 for the smaller cakes, placing them on top of a thin 15cm cake board.
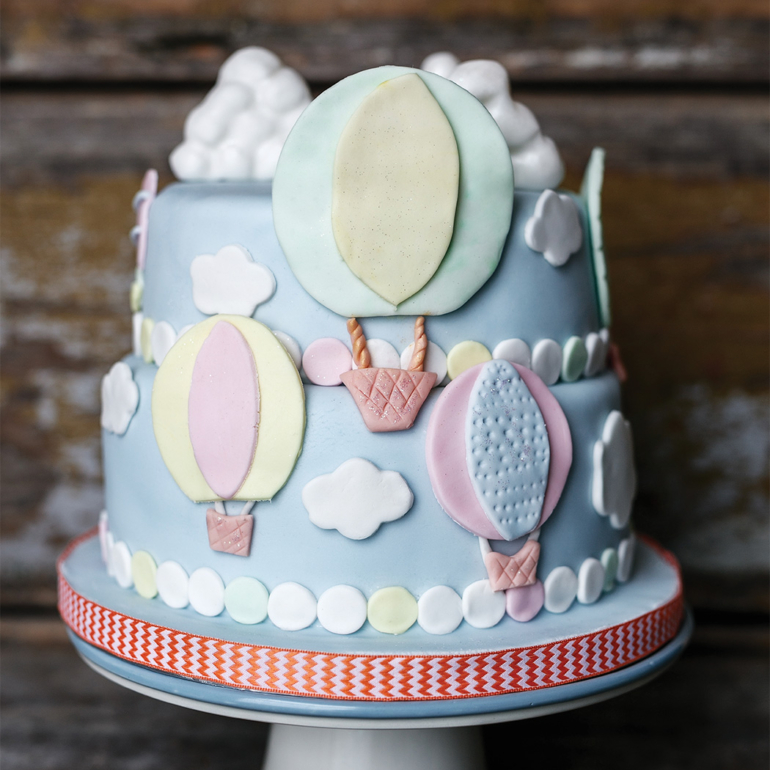
- On a clean surface, knead the fondant until elastic. Once kneaded, add a dot of blue food colouring and work it into the icing. Add the colouring in small amounts until it becomes a baby blue colour. Set aside 1kg of fondant for the 15cm cake and keep it covered to stop it drying out.
- On a surface dusted with corn flour roll out the fondant to fit the bottom tier.
- Carefully lift the fondant onto the cake and drape it over the bottom tier. Smooth the fondant around the top edge first, then stretch and smooth the fondant down the sides. Use a cake smoother to smooth the rest of the cake. Trim away any excess around the bottom edge. Repeat steps 11 and 12 for the 15cm cake.
- Use wooden or plastic dowels to support the top tier. Insert the dowels straight down into the centre of the large cake. Use a knife to mark the exact height at the top of the cake, carefully pull out the dowels. Cut the dowels to the correct length, cut 3 more dowels using the first as a guide. Insert the dowels into the large cake, spacing them evenly apart in the centre of the cake. Rest the top tier on the dowels over the bottom tier.
- Using a circle cutter, cut out approximately 80 small circles for your cake border. Using a paintbrush with a small amount of water or vodka, stick the circles evenly around the bottom edges of both cakes.
- To make the clouds, use a flower cutter, stretch the shape outwards to make a cloud or cut the cloud shapes free hand using a sharp knife. Make as many or as little clouds as you like and stick them to the sides of the cake.
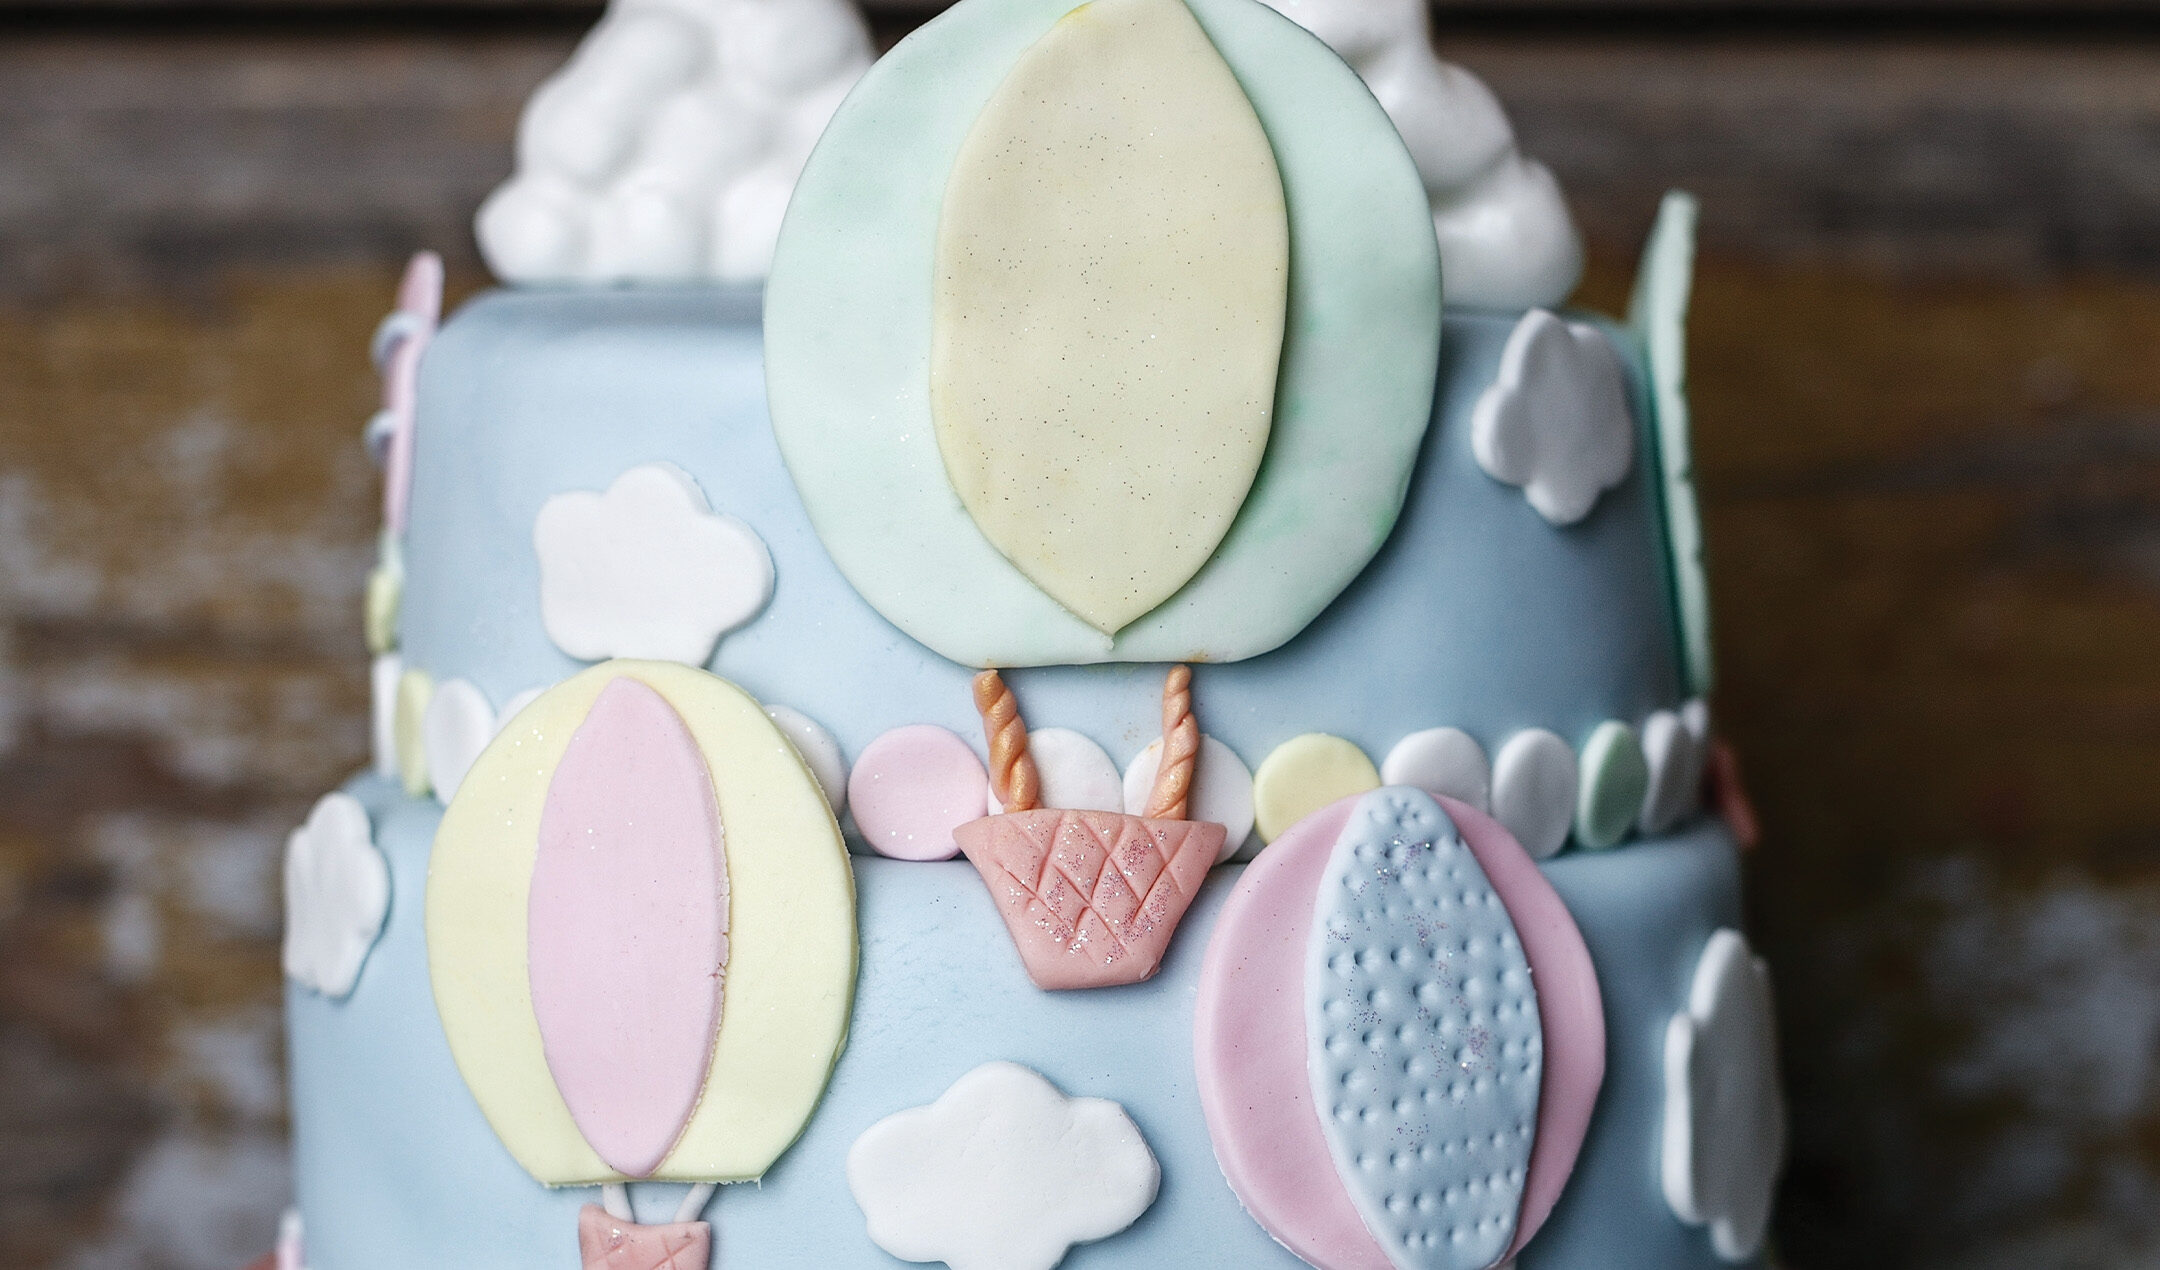
- The hot air balloons can be made in advance to allow them to harden. Use already coloured fondant or colour it yourself by kneading a small dot of your desired colour into the white fondant. Using a circle cutter (use a glass if you don’t have cutters) cut out a few circles; stretch them to have an oval shape. Design the balloons however you like using edible beads, strips of coloured fondant etc. Cut out a small square for the basket and attach two small strips as the rope. Attach all of the pieces together and stick onto the cake. Repeat this step to make as many balloons as you like.
- For the 3D clouds on the top of the cake, roll out small balls of fondant and arrange them in a triangle shape. Roll out a small piece of fondant really thin, lay it on top of the fondant balls and rub the fondant to allow the bumps to show through.
Nutrition Facts
Per Serving 745kcals, 35.8g (16.8g saturated), 105.7g carbs (90.4g sugars), 3g protein, 0.8g fibre, 0.316g sodium
TOP TIP
If you do not have a piping bag, snip a corner off a sandwich bag, add your nozzle and pipe away!
MAKE IT YOURS
This would make an adorable communion cake!
Popular in Cakes
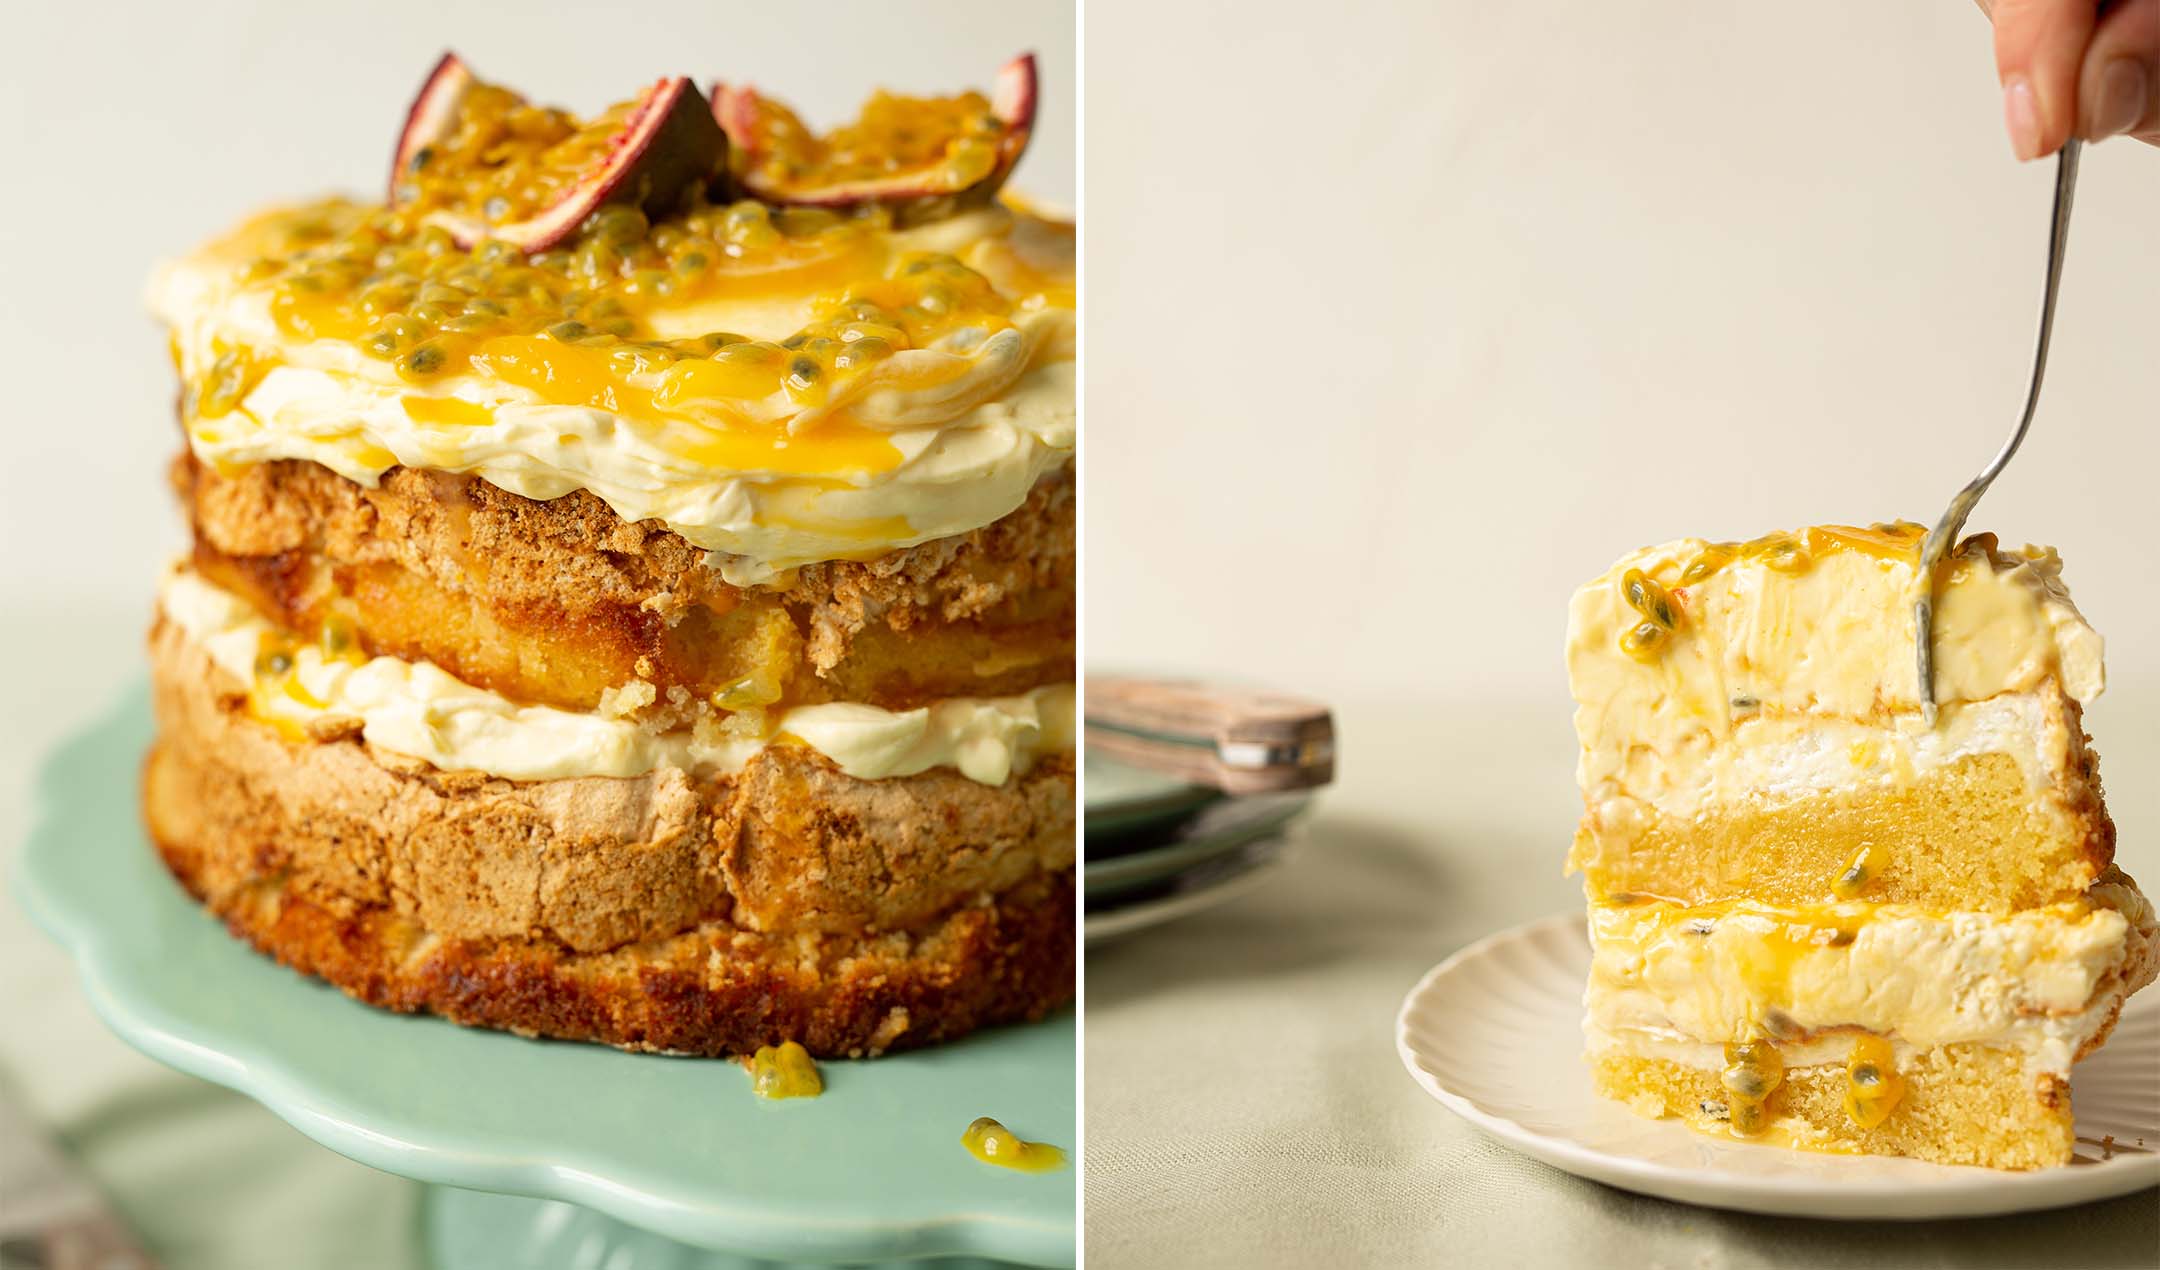 Passionfruit meringue gateaux